

 Send Email
 Whatsapp


The Beginner’s Guide to MC4 Solar Connectors
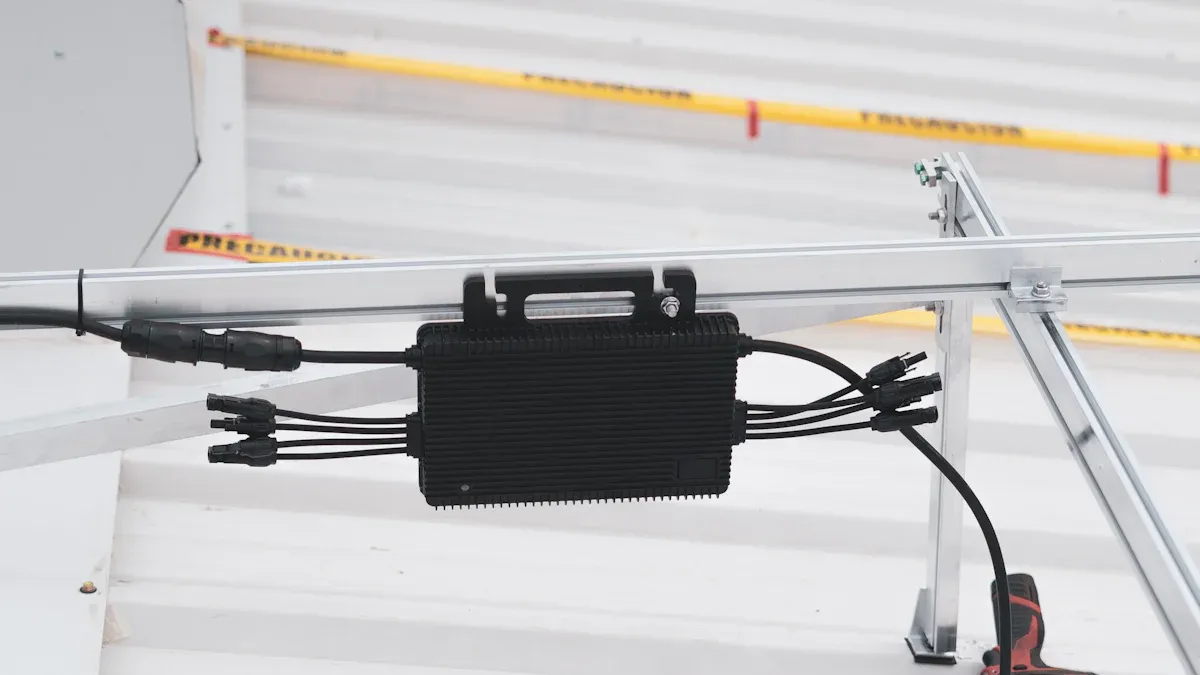
You use MC4 Solar Connectors to join solar panels together. These connectors lock in place with a simple click. Water, dust, and sunlight cannot harm them. You get a safe and strong connection every time.
Tip: Always check that your connectors snap tightly for best results.
Key Takeaways
- MC4 solar connectors provide strong, weatherproof, and safe connections that protect your solar system from damage and power loss.
- Choose the right connector size and brand to match your cables and panels for reliable and easy installation without special skills.
- Regularly inspect, clean, and replace damaged connectors to keep your solar system working efficiently and safely for years.
MC4 Solar Connectors: Key Features and Benefits

Weatherproof and Durable Construction
You want your solar system to last for years. MC4 Solar Connectors help you achieve this goal. These connectors use tough plastic that resists UV rays and harsh weather. Rain, dust, and sunlight cannot damage them easily. You can install them outdoors and trust that they will keep working.
Note: Always check for cracks or damage before using connectors in your system.
Easy Plug-and-Play Design
You do not need special skills to use MC4 Solar Connectors. The design lets you connect solar panels quickly. You push the connectors together until you hear a click. This sound means you have a secure connection. If you need to disconnect them, you use a simple tool.
- No need for soldering
- No need for complicated wiring
- You save time during installation
Safety and Reliability for Solar Systems
You want your solar system to be safe. MC4 Solar Connectors give you peace of mind. The locking system prevents accidental disconnections. The connectors also protect against electric shocks and short circuits.
| Feature | Benefit |
|---|---|
| Locking system | Prevents loose wires |
| Insulation | Stops electric shocks |
| Strong build | Lasts for many years |
Types and Compatibility of MC4 Solar Connectors
Standard MC4 Connectors
You find standard MC4 Solar Connectors on most solar panels. These connectors have a single male and female end. You use them to join one panel to another in a straight line. The design helps you create a simple and secure connection. You can trust these connectors to keep your system safe.
Tip: Always match the male and female ends before you push them together.
Branch Connectors and Extensions
You may need to connect more than two panels at once. Branch connectors help you do this. They look like a "Y" or "T" shape. You use branch connectors to combine panels in parallel. Extensions let you reach panels that sit farther apart.
- Branch connectors split the flow of electricity
- Extensions add length to your cable runs
Note: Use branch connectors when you want to increase the total current in your system.
Matching MC4 Connectors with Solar Panels and Cables
You must check that your connectors fit your panels and cables. Look at the cable size and the connector type. Most MC4 Solar Connectors work with 10 AWG or 12 AWG cables. You should read the panel manual to see which connectors you need.
| Panel Type | Recommended Connector | Cable Size |
|---|---|---|
| Standard Panel | MC4 | 10/12 AWG |
| High Output | MC4 Branch | 10 AWG |
Alert: Using the wrong connector can cause poor connections or damage your system.
Choosing the Right MC4 Solar Connectors
Selecting the Correct Size for Your Cables
You need to match the connector size to your cable. If you use the wrong size, you may get a weak connection or even damage your system. Most Solar Cables come in sizes like 10 AWG or 12 AWG. You should check the label on your cable before you buy connectors.
Tip: Always use a connector that fits tightly on your cable. Loose connections can cause heat and power loss.
You can use this simple table to help you choose:
| Cable Size (AWG) | Typical Use | Recommended Connector Size |
|---|---|---|
| 10 | High power panels | 10 AWG MC4 |
| 12 | Standard panels | 12 AWG MC4 |
If you feel unsure, ask your solar supplier for advice. You want every connection to be safe and strong.
Importance of Quality Materials and Certifications
You should always look for connectors made from high-quality materials. Good connectors use tough plastic and strong metal parts. These materials help your system last longer. Cheap connectors may crack or rust. This can lead to power loss or even fire.
Look for certifications on the packaging. Certifications show that the connector passed safety tests. Some common marks include UL, TUV, or CE.
Alert: Never use connectors without safety certifications. Certified connectors protect you and your solar system.
You can spot quality connectors by their weight and finish. They feel solid and smooth. The locking parts move easily but hold tight.
Ensuring System Compatibility
You must make sure all parts of your system work together. Not all connectors fit every panel or cable. Some brands use different shapes or locking systems. If you mix brands, you may get a poor connection.
Check your solar panel manual. It will list the right type of connector. You should also check the voltage and current ratings. Your connector must handle the power from your panels.
- Match connector type to your panel
- Check voltage and current ratings
- Use the same brand when possible
Note: Using the right MC4 Solar Connectors helps you avoid problems and keeps your system safe.
Installing MC4 Solar Connectors: Step-by-Step Guide
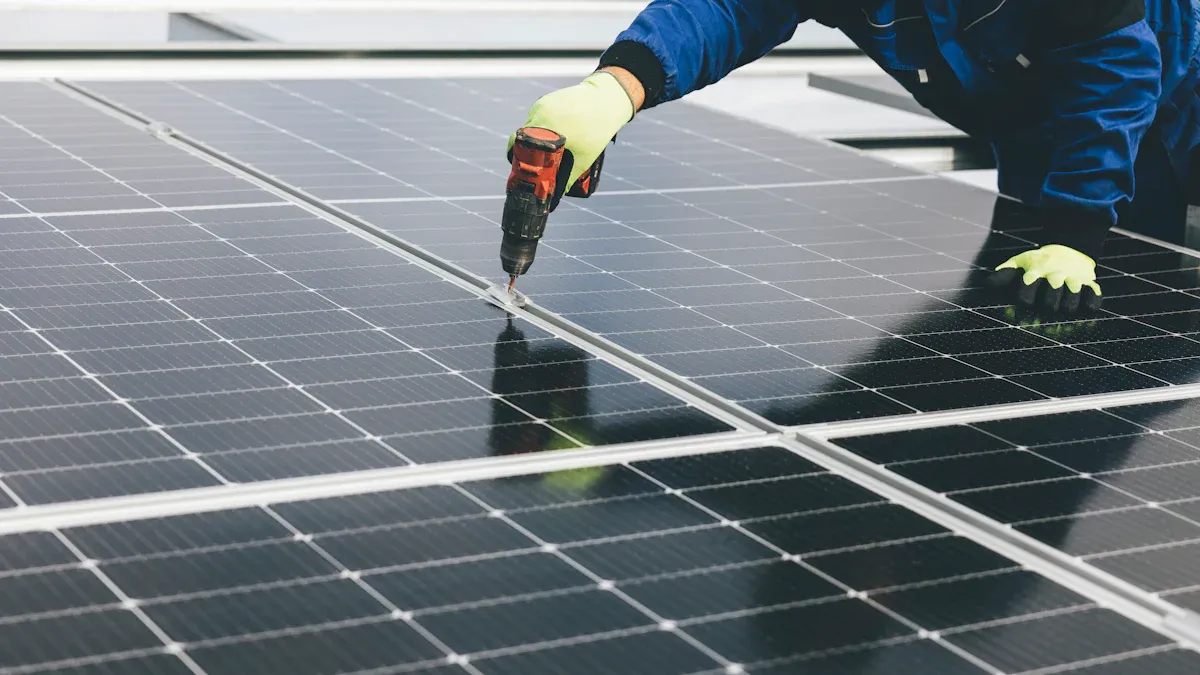
Tools Required for Installation
Before you start, gather all the tools you need. Having the right tools makes the job easier and safer. Here is a list of basic tools for installing MC4 Solar Connectors:
- Wire stripper: Removes the insulation from your solar cable.
- Cable cutter: Cuts the cable to the right length.
- MC4 crimping tool: Secures the metal contact to the wire.
- MC4 assembly tool: Helps you lock and unlock the connectors.
- Multimeter: Checks your connections for safety.
Tip: Use tools made for solar work. They help you avoid mistakes and protect your system.
Preparing Cables and Connectors
You need to prepare your cables and connectors before you connect anything. Follow these steps to get ready:
- Measure and cut your cable to the length you need.
- Use the wire stripper to remove about 1/4 inch (6 mm) of insulation from the end of each cable.
- Slide the connector’s back shell onto the cable. Do this before you attach the metal contact.
- Insert the bare wire into the metal contact pin. Make sure all the strands go inside the pin.
- Use the crimping tool to press the metal contact tightly onto the wire. The connection should feel solid and not move.
Note: Check that no copper strands stick out from the contact. A clean crimp gives you a safe and strong connection.
Connecting and Securing MC4 Solar Connectors
Now you can connect and secure your MC4 Solar Connectors. Follow these steps for a safe installation:
- Push the crimped contact into the connector housing. You should hear a click when it locks in place.
- Screw the back shell onto the connector body. This step seals the connector and keeps out water and dust.
- Repeat the process for both the positive and negative cables.
- Align the male and female connectors. Push them together until you hear a click. This sound means you have a secure connection.
- Use the MC4 assembly tool if you need to disconnect the connectors. Never pull them apart by hand.
| Step | What to Do | Why It Matters |
|---|---|---|
| Insert contact | Push until you hear a click | Ensures a locked connection |
| Tighten back shell | Screw on firmly | Keeps out water and dust |
| Connect ends | Click male and female together | Prevents accidental opening |
Alert: Always check your connections with a multimeter before turning on your solar system. This step helps you find any wiring mistakes and keeps you safe.
Common Mistakes with MC4 Solar Connectors
Incorrect Crimping or Assembly
You might think crimping a connector is simple, but mistakes can happen. If you do not crimp the metal contact tightly onto the wire, the connection can become loose. Loose wires cause heat and power loss. Sometimes, you may forget to insert all the copper strands into the contact. This mistake weakens the connection. Always double-check your work. Use a proper crimping tool and make sure the contact does not move when you pull on it.
Tip: After crimping, give the wire a gentle tug. If it slips out, redo the crimp.
Mixing Incompatible Connector Brands
You may see connectors from different brands that look the same. They might not fit together well. Mixing brands can lead to poor connections or even damage. Some connectors have slightly different shapes or locking systems. If you force them together, you risk breaking the connector or causing a bad electrical contact.
- Stick with one brand for all your connectors.
- Check the manufacturer’s instructions before you buy.
Skipping Safety Checks
You should never skip safety checks. After you finish connecting everything, always test your work. Use a multimeter to check for correct voltage and polarity. Look for any exposed wires or loose parts. Skipping this step can lead to electric shocks or system failure.
Alert: Safety checks protect you and your solar equipment. Take a few extra minutes to inspect every connection.
Maintaining MC4 Solar Connectors for Longevity
Regular Inspection and Damage Checks
You should check your connectors often. Look for cracks, discoloration, or loose parts. Use your eyes and hands to spot any problems. If you see water inside a connector, dry it right away. Make a habit of checking your system every few months.
Tip: Create a checklist to help you remember what to look for during each inspection.
Cleaning and Protecting Connectors
Dirt and dust can build up on your connectors. You can use a soft brush or a dry cloth to clean them. Never use water or harsh chemicals. If you see any corrosion, remove it gently. After cleaning, make sure the connectors are dry before you reconnect them.
- Clean connectors work better and last longer
- Keep connectors covered when not in use
| Cleaning Tool | Safe to Use? |
|---|---|
| Dry Cloth | Yes |
| Soft Brush | Yes |
| Water | No |
| Chemicals | No |
Replacing Worn or Faulty Parts
Sometimes, connectors wear out or break. You should replace any connector that looks damaged or does not lock tightly. Always use new parts that match your system. If you feel unsure, ask a professional for help.
Alert: Never ignore a broken connector. Replacing it keeps your solar system safe and strong.
You keep your solar system safe and efficient when you use quality connectors and follow proper installation steps. Always inspect your connections and replace damaged parts. Clean your connectors often. Reliable connections help your solar panels work well for years.
Tip: Create a maintenance schedule to check your system regularly.
FAQ
How do you disconnect MC4 solar connectors safely?
You use an MC4 assembly tool. Insert the tool into the connector slots. Pull the connectors apart gently. Never twist or force them.
Can you reuse MC4 connectors after disconnecting?
You can reuse MC4 connectors if they show no damage. Check for cracks or worn parts before reconnecting. Replace any connector that feels loose.
What cable sizes work best with MC4 connectors?
| Cable Size | Use Case |
|---|---|
| 10 AWG | High power panels |
| 12 AWG | Standard panels |
You should match the connector size to your cable for a secure fit.