

 Whatsapp


POWERING YOUR RV OR VAN CONVERSION WITH SOLAR: WHAT YOU NEED TO KNOW
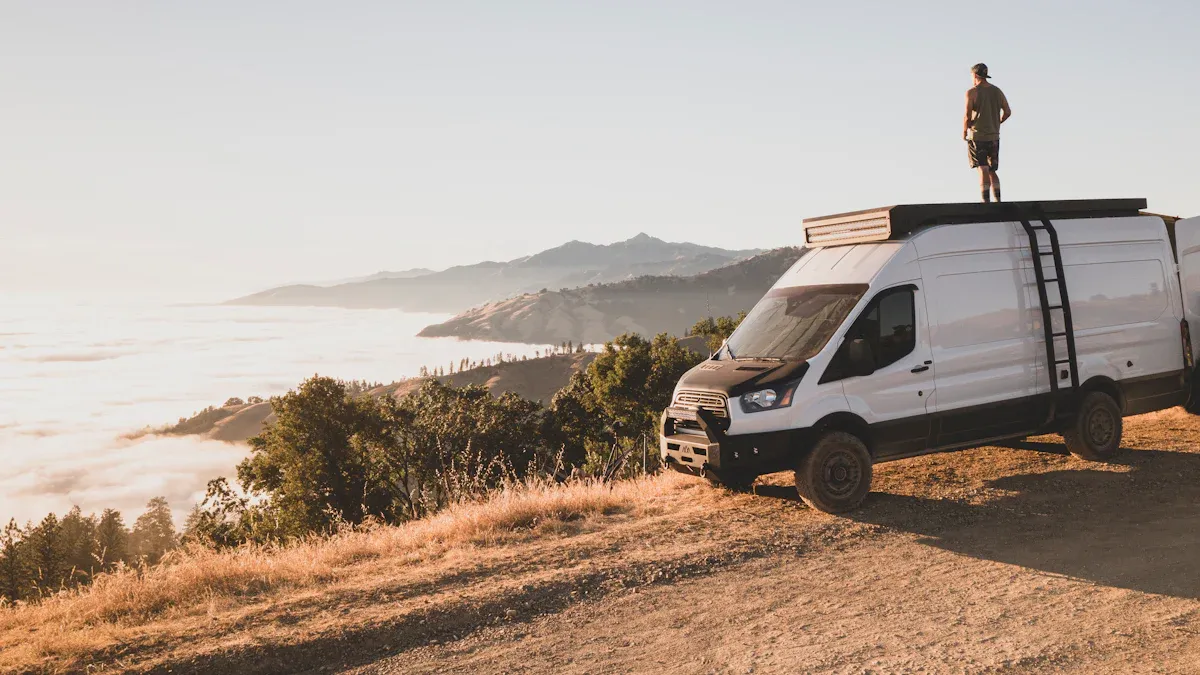
Switching to solar power for your RV or van is a game-changer. It lets you travel off-grid without worrying about running out of energy. You'll enjoy lower costs, cleaner energy, and the freedom to explore remote places. With the right Solar Cable and setup, you can create a reliable, eco-friendly power source for your adventures.
Key Takeaways
- Using solar power in your RV or van lets you travel off-grid. It lowers energy costs and helps the environment.
- Learn about solar system parts like panels, charge controllers, batteries, inverters, and cables to set it up correctly.
- Check how much power you use to know your energy needs. This helps make sure your solar system can run your devices without losing power.
Understanding Solar Power Systems
When it comes to powering your RV or van with solar energy, understanding how the system works is key. Let’s break it down into simple parts so you can see how everything fits together.
Components of a Solar Power System
A solar power system for your RV or van isn’t as complicated as it might seem. It’s made up of a few essential components that work together to generate and store energy. Here’s what you’ll need:
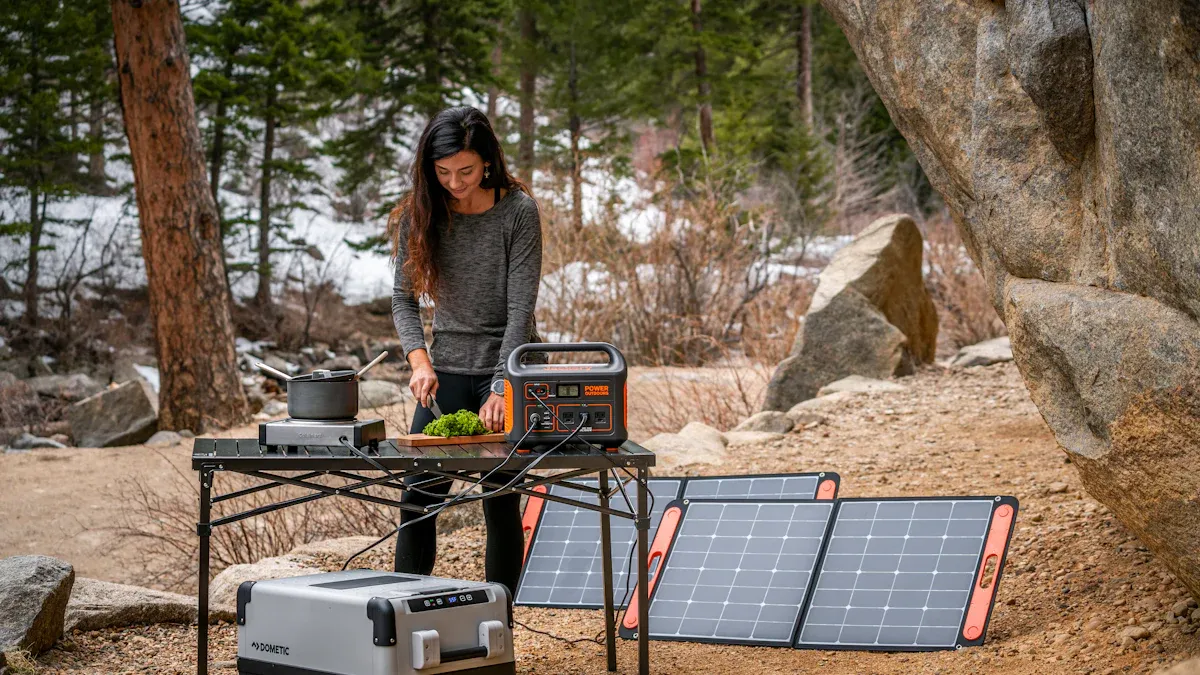
- Solar Panels: These are the heart of your system. They capture sunlight and convert it into electricity. You can choose between rigid, flexible, or portable panels depending on your needs.
- Charge Controller: This device regulates the power coming from the solar panels to prevent overcharging your batteries. Think of it as the system’s traffic cop, ensuring everything flows smoothly.
- Batteries: These store the energy your panels collect. Lithium-ion batteries are a popular choice because they’re lightweight and long-lasting.
- Inverter: If you want to power devices that use AC electricity (like a laptop or microwave), you’ll need an inverter to convert the DC power from your batteries.
- Solar Cable: This connects all the components together. Using the right solar cable ensures efficient energy transfer and reduces power loss.
Each part plays a vital role in keeping your system running. Once you have these components, you’re ready to harness the power of the sun.
How Solar Power Works in an RV or Van
So, how does solar power actually work in your RV or van? It’s simpler than you might think. Here’s a step-by-step look at the process:
- Sunlight Hits the Panels: Your solar panels absorb sunlight and convert it into direct current (DC) electricity.
- Power Flows to the Charge Controller: The charge controller manages the flow of electricity to your batteries. It prevents overcharging, which can damage your system.
- Energy Gets Stored in Batteries: The electricity is stored in your batteries so you can use it later, even when the sun isn’t shining.
- Inverter Converts DC to AC: If you’re running appliances that need AC power, the inverter steps in to convert the stored DC electricity into usable AC power.
- Power Your Devices: Finally, you can plug in your devices and enjoy the energy independence that solar power provides.
This process happens seamlessly once your system is set up. Whether you’re charging your phone, running a fridge, or powering lights, solar energy makes it all possible.
Tip: To get the most out of your system, park your RV or van in a sunny spot and keep your panels clean. Dust and dirt can reduce their efficiency.
Choosing the Right Solar Setup
Types of Solar Panels
Choosing the right solar panels is the first step in building your system. You’ll find three main types: rigid, flexible, and portable. Rigid panels are durable and efficient, making them a great choice for permanent setups. Flexible panels are lightweight and can bend slightly, which is perfect if your roof has curves. Portable panels are easy to move and store, ideal for those who want flexibility. Think about your space and how you plan to use your system before deciding.
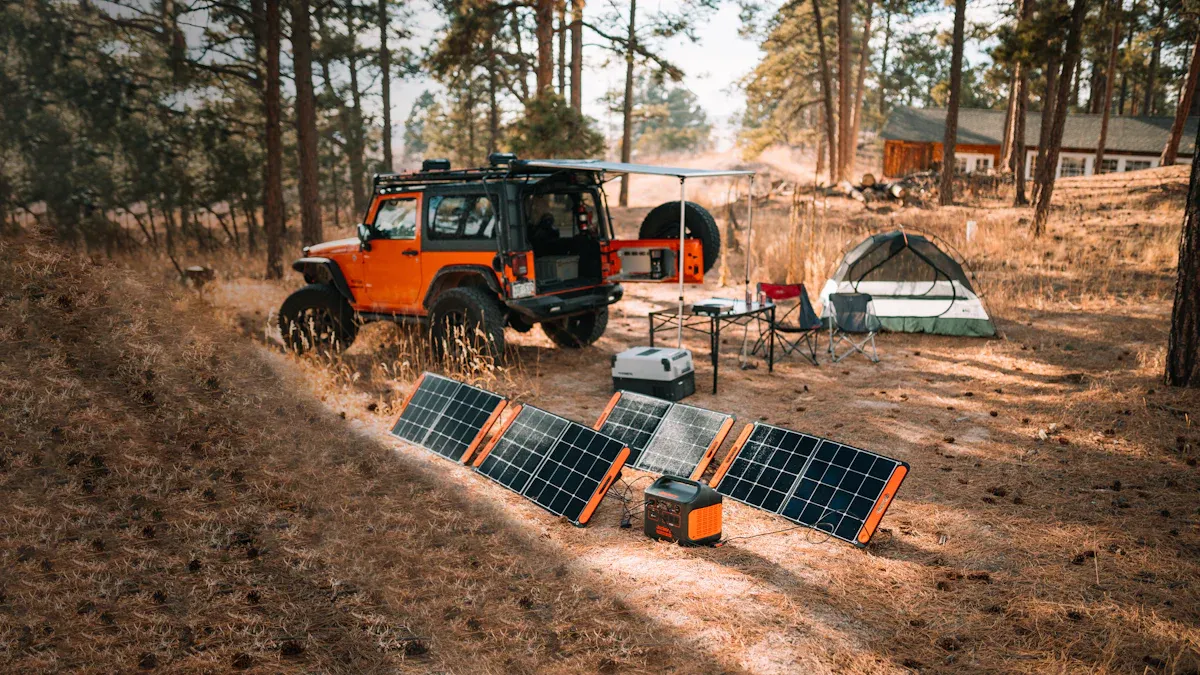
Portable vs. Permanent Setups
When it comes to mounting your panels, you have two options: portable or permanent. Portable setups let you move your panels to follow the sun. They’re great if you park in shady spots or want to camp in different locations. Permanent setups, on the other hand, are mounted directly to your RV or van. They’re always ready to go and require less effort once installed. If you’re someone who values convenience, a permanent setup might be the way to go.
Matching Your System to Your Lifestyle
Your solar setup should fit your lifestyle. Are you a weekend camper or a full-time traveler? If you only need power for a few devices, a smaller system with portable panels might work. But if you’re running appliances like a fridge or microwave, you’ll need a larger system with more panels and batteries. Don’t forget to use the right solar cable to connect everything efficiently. Take some time to think about your energy needs and how you’ll use your system.
Calculating Energy Needs
Before you dive into installing a solar power system, you need to figure out how much energy you’ll actually use. This step is crucial because it ensures your system can handle your needs without leaving you in the dark. Let’s break it down into three simple steps.
Performing a Power Audit
A power audit is like making a shopping list for your energy needs. It helps you figure out what devices you’ll use and how much power they’ll consume. Here’s how you can do it:
- List Your Devices: Write down everything you plan to power with your solar system. This could include lights, a fridge, a laptop, or even a coffee maker.
- Check Power Ratings: Look at the labels on your devices to find their wattage. If you can’t find it, check the user manual or search online.
- Estimate Usage Time: Think about how many hours each device will run daily. For example, your fridge might run 24/7, but your laptop might only be on for 3 hours.
Tip: Don’t forget small items like phone chargers or fans. They might seem insignificant, but their energy use adds up over time.
Once you’ve gathered this information, you’ll have a clear picture of what your system needs to support.
Calculating Energy Consumption
Now that you’ve completed your power audit, it’s time to calculate your total energy consumption. This step is simple math, and here’s the formula you’ll use:
Wattage × Hours Used Per Day = Watt-Hours (Wh) Per Day
For example:
- A 60-watt lightbulb running for 5 hours a day will use 60 × 5 = 300 Wh/day.
- A 100-watt laptop running for 3 hours a day will use 100 × 3 = 300 Wh/day.
Add up the watt-hours for all your devices to get your total daily energy consumption. Let’s say your total comes to 1,500 Wh/day. This number will guide you in choosing the right solar panels and batteries.
Note: If you’re using devices with variable power consumption, like a fridge, check the average wattage instead of the peak wattage.
Determining Solar Panel and Battery Requirements
With your energy consumption calculated, you can now figure out how many solar panels and batteries you’ll need. Here’s how to do it:
Solar Panels
To determine the number of panels, divide your daily energy consumption by the average sunlight hours in your area. For example:
- If you need 1,500 Wh/day and your location gets 5 hours of sunlight, you’ll need panels that produce 1,500 ÷ 5 = 300 watts/hour.
- A single 100-watt panel produces about 100 watts/hour in full sunlight. So, you’d need at least three 100-watt panels to meet your needs.
Batteries
Batteries store the energy your panels collect. To calculate battery capacity, divide your daily energy consumption by the battery voltage (usually 12V) and then multiply by a safety factor (1.5 is a good rule of thumb). For example:
- If you need 1,500 Wh/day, the calculation would be:
(1,500 ÷ 12) × 1.5 = 187.5 amp-hours (Ah). - You’d need a battery (or multiple batteries) with at least 187.5 Ah capacity.
Pro Tip: Always plan for a little extra capacity. Weather conditions and unexpected energy use can affect your system’s performance.
By following these steps, you’ll have a solar setup that matches your energy needs perfectly. You’ll avoid overspending on unnecessary components and ensure you have enough power for all your adventures.
Installation and Wiring
Mounting Solar Panels
Mounting your solar panels is an important step in setting up your system. You’ll want to choose a spot on your RV or van that gets the most sunlight. The roof is usually the best place. Before you start, clean the surface to ensure the panels stick properly. Most panels come with mounting brackets or adhesive backing, making installation straightforward. If you’re using rigid panels, secure them with screws or bolts for extra stability. Flexible panels, on the other hand, can be glued directly to the surface.
Tip: Use a tilt mount if possible. Tilting your panels toward the sun can increase their efficiency, especially during winter months.
Using the Right Solar Cable
The solar cable is the lifeline of your system. It connects the panels to the charge controller, batteries, and inverter. Using the right type of cable ensures efficient energy transfer and prevents power loss. Look for cables specifically designed for solar systems. They’re durable, weather-resistant, and handle high voltages safely. When measuring, make sure the cable is long enough to connect all components without stretching. Shorter cables are better for reducing energy loss, but don’t compromise on safety.
Wiring Methods and Safety
Wiring your solar system might seem tricky, but it’s manageable with some planning. Start by connecting the solar panels to the charge controller. Then, link the controller to the batteries and the inverter. Always follow the manufacturer’s instructions for each component. Use proper connectors and avoid loose wires. Safety is key here. Double-check all connections and use fuses or circuit breakers to protect your system from overloads.
Note: If you’re unsure about wiring, consult a professional. It’s better to be safe than sorry when dealing with electricity.
Costs and Budgeting
Cost Breakdown
Setting up a solar power system for your RV or van doesn’t have to break the bank. Costs vary depending on the size of your system and the components you choose. Here’s a quick breakdown:
| Component | Estimated Cost |
|---|---|
| Solar Panels | $100–$300 per panel |
| Charge Controller | $50–$200 |
| Batteries | $200–$1,000 per battery |
| Inverter | $100–$500 |
| Wiring and Accessories | $50–$150 |
If you’re building a small system, expect to spend around $500–$1,000. Larger setups can cost $2,000 or more. Keep in mind that higher-quality components may cost more upfront but last longer.
Tip: Compare prices and read reviews before buying. A little research can save you money and headaches later.
Installation Options
You’ve got two choices for installation: DIY or professional help. If you’re handy with tools, installing the system yourself can save you hundreds of dollars. Many components come with clear instructions, and there are plenty of online tutorials to guide you.
Hiring a professional ensures everything is done safely and correctly. This option is great if you’re not comfortable with wiring or mounting panels. Expect to pay $500–$1,000 for professional installation, depending on the complexity of your setup.
Note: If you’re unsure about wiring, it’s better to hire an expert. Safety should always come first.
Long-Term Savings
Investing in solar power pays off over time. Once your system is up and running, you’ll enjoy free energy from the sun. No more worrying about campground hookup fees or running a noisy generator.
Solar systems also reduce maintenance costs. Batteries and panels require minimal upkeep compared to traditional power sources. Plus, you’ll save money on fuel since you won’t need to rely on a generator.
Pro Tip: Calculate your savings over five years. You’ll see how quickly your system pays for itself while giving you the freedom to explore off-grid.
Maintenance and Longevity
Keeping your solar power system in top shape doesn’t have to be complicated. A little regular maintenance goes a long way in ensuring your setup lasts for years.
Cleaning and Inspecting Panels
Your solar panels work best when they’re clean and free of debris. Dust, dirt, and bird droppings can block sunlight and reduce efficiency. Here’s how you can keep them spotless:
- Use a soft brush or cloth to remove loose dirt.
- Wash the panels with water and mild soap. Avoid harsh chemicals.
- Rinse thoroughly and let them air dry.
Inspect your panels regularly for cracks or damage. If you notice anything unusual, address it right away.
Tip: Clean your panels early in the morning or late in the evening. This prevents water from evaporating too quickly and leaves fewer streaks.
Maintaining Batteries
Your batteries are the backbone of your solar system. To keep them running smoothly, follow these steps:
- Check the battery terminals for corrosion. Clean them with a mixture of baking soda and water if needed.
- Monitor the charge levels. Avoid letting the batteries drain completely, as this can shorten their lifespan.
- For lead-acid batteries, check the water levels and top them off with distilled water if necessary.
Pro Tip: Store your batteries in a cool, dry place to prevent overheating.
Extending System Lifespan
Want your system to last as long as possible? Here are some tips:
- Use high-quality components. They may cost more upfront but save you money in the long run.
- Protect your system from extreme weather. Use covers or shields during storms.
- Perform a full system check every six months. Look for loose connections, worn cables, or any signs of wear and tear.
By staying proactive, you’ll enjoy reliable solar power for years to come. 🌞
Solar power is a game-changer for your RV or van. It’s practical, eco-friendly, and gives you the freedom to explore without limits. Take time to assess your energy needs and pick the right setup. 🌞
Tip: Start small and expand your system as you go. Solar power grows with you!
FAQ
How much sunlight do I need for my solar panels to work effectively?
Your panels need about 4-6 hours of direct sunlight daily for optimal performance. Cloudy days reduce efficiency, but your system will still generate some power.
Tip: Park in sunny spots and avoid shade from trees or buildings.
Can I run air conditioning with a solar power system?
Yes, but it requires a large system with high-capacity batteries and multiple panels. Air conditioners consume a lot of energy, so plan your setup carefully.
Pro Tip: Use energy-efficient AC units to reduce power consumption.
What happens if my batteries run out of power?
If your batteries deplete, your devices won’t work until they recharge. To avoid this, monitor battery levels and conserve energy during cloudy days or high usage.
Note: Adding extra batteries can provide backup power for emergencies.