

 Whatsapp


Can I buy a solar system and install it myself?
Installing your own solar system might sound exciting, right? It’s possible, but it’s not as simple as plugging in a device. You’ll need technical skills, a solar installation tool or two, and a good understanding of safety. While it can save you money, it also comes with challenges like handling regulations and ensuring proper setup.
Key Takeaways
- Installing solar panels yourself can save money, but it takes time and skill. Be ready to learn and plan carefully.
- Safety is very important when setting up solar panels. Always wear safety gear and follow local rules to stay safe and avoid penalties.
- Using the right tools is key for a good installation. Buy good tools to make sure your work is easy and goes well.
Is DIY Solar Installation Feasible?
So, you're thinking about installing a solar system yourself? That’s a big decision! Before diving in, it’s important to understand what’s involved. Let’s break it down step by step.
Skills and Knowledge Required
First things first—do you have the skills to handle this project? Installing a solar system isn’t just about screwing panels onto your roof. You’ll need to understand how solar energy works, basic electrical wiring, and how to connect components like inverters and batteries.
Here’s what you should know:
- Electrical knowledge: You’ll need to wire the system safely and connect it to your home’s electrical panel.
- Roofing skills: If your panels go on the roof, you’ll need to secure them properly without damaging your roof.
- System design: You’ll need to calculate how many panels you need, where to place them, and how to optimize sunlight exposure.
Tip: If you’re not confident in these areas, consider taking a course or consulting with a professional before starting.
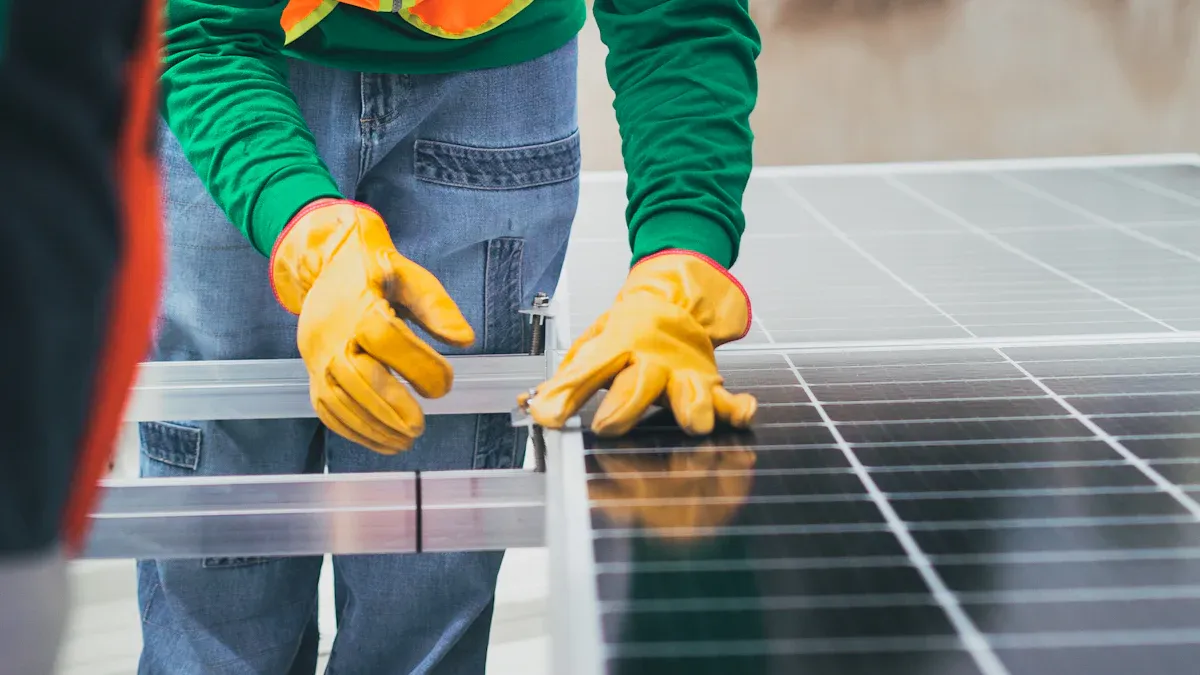
Solar Installation Tools and Equipment
You can’t install a solar system without the right tools. A solar installation tool isn’t just a hammer or screwdriver—it’s specialized equipment designed for this type of work. Here’s a quick list of what you’ll need:
- Drill and mounting tools: For securing the panels to your roof or ground mounts.
- Multimeter: To test electrical connections and ensure everything is working correctly.
- Safety gear: This includes gloves, goggles, and a harness if you’re working on a roof.
- Wiring tools: Like wire cutters, crimpers, and connectors for setting up the electrical system.
Some tools, like a solar installation tool kit, are available as complete sets. These kits can save you time and ensure you have everything you need.
Note: Investing in quality tools is essential. Cheap tools might fail during installation, leading to costly mistakes.
Time and Effort Involved
Installing a solar system isn’t a weekend project. It takes time, effort, and patience. Here’s what you can expect:
- Planning and preparation: Researching, designing your system, and getting permits can take weeks.
- Installation: Depending on the size of your system, installation can take several days. You’ll need to mount the panels, connect the wiring, and test the system.
- Learning curve: If you’re new to solar systems, expect to spend extra time learning as you go.
Reality Check: DIY solar installation can save money, but it’s not a quick or easy process. Be prepared to dedicate significant time and energy to get it right.
Pros and Cons of Installing a Solar System Yourself
Benefits of DIY Solar Installation
Taking the DIY route for your solar system can be rewarding. One of the biggest advantages is cost savings. By skipping professional installation, you avoid labor fees, which can make up a significant portion of the total expense. If you’re on a budget, this can be a game-changer.
Another benefit is the sense of accomplishment. Imagine looking at your roof and knowing you installed those panels yourself. It’s a great feeling! Plus, you get to learn new skills along the way. From understanding how solar energy works to mastering the use of a solar installation tool, the process can be educational and empowering.
You also have complete control over the project. You decide the timeline, the design, and the placement of the panels. This flexibility can be especially helpful if you have specific preferences or unique property requirements.
Challenges and Risks of DIY Solar Installation
While the benefits are tempting, DIY solar installation comes with its share of challenges. The first hurdle is the technical complexity. Wiring the system, connecting it to your home, and ensuring everything works safely isn’t easy. If you make a mistake, it could lead to costly repairs or even safety hazards.
Another challenge is the time commitment. Planning, purchasing materials, and installing the system can take weeks. If you’re juggling work or family responsibilities, finding the time might be tough.
Safety is another major concern. Working on a roof can be dangerous, especially without proper safety gear. Electrical work also carries risks if you’re not experienced.
Lastly, there’s the issue of permits and inspections. Navigating local regulations can be confusing and time-consuming. If you don’t follow the rules, you might face fines or be required to redo parts of the installation.
Tip: If you’re unsure about any step, consult a professional. It’s better to spend a little extra than to risk your safety or the system’s performance.
Step-by-Step Guide to DIY Solar Installation
Planning and Designing the System
Before you start installing anything, you need a solid plan. Think of this step as creating the blueprint for your solar system. Start by figuring out how much energy your household uses. Look at your electricity bills to calculate your average monthly usage. This will help you decide how many solar panels you need.
Next, assess your property. Where will you place the panels? Most people install them on their roofs, but ground-mounted systems are also an option if you have space. Make sure the location gets plenty of sunlight throughout the day. Avoid areas shaded by trees, buildings, or other obstacles.
You’ll also need to decide on the type of system. Do you want a grid-tied system, which connects to your local power grid, or an off-grid system with batteries for energy storage? Each option has its pros and cons, so choose the one that fits your needs.
Tip: Use online solar calculators to estimate the size and cost of your system. These tools can give you a rough idea of what to expect.
Purchasing the Right Solar Installation Tools
Once you’ve planned your system, it’s time to gather the tools and materials. You’ll need solar panels, an inverter, mounting hardware, wiring, and possibly batteries if you’re going off-grid. But don’t forget the tools! A solar installation tool kit is essential for getting the job done right.
Here’s a list of tools you’ll likely need:
- Drill and screws: For mounting the panels securely.
- Multimeter: To check electrical connections and ensure everything is working properly.
- Wire cutters and crimpers: For handling the wiring.
- Safety gear: Gloves, goggles, and a harness if you’re working on a roof.
Investing in high-quality tools is important. A reliable solar installation tool can make the process smoother and help you avoid mistakes. If you’re unsure about what to buy, many retailers offer pre-assembled kits with everything you need.
Note: Double-check that all your tools and materials meet local safety standards. This will save you headaches later.
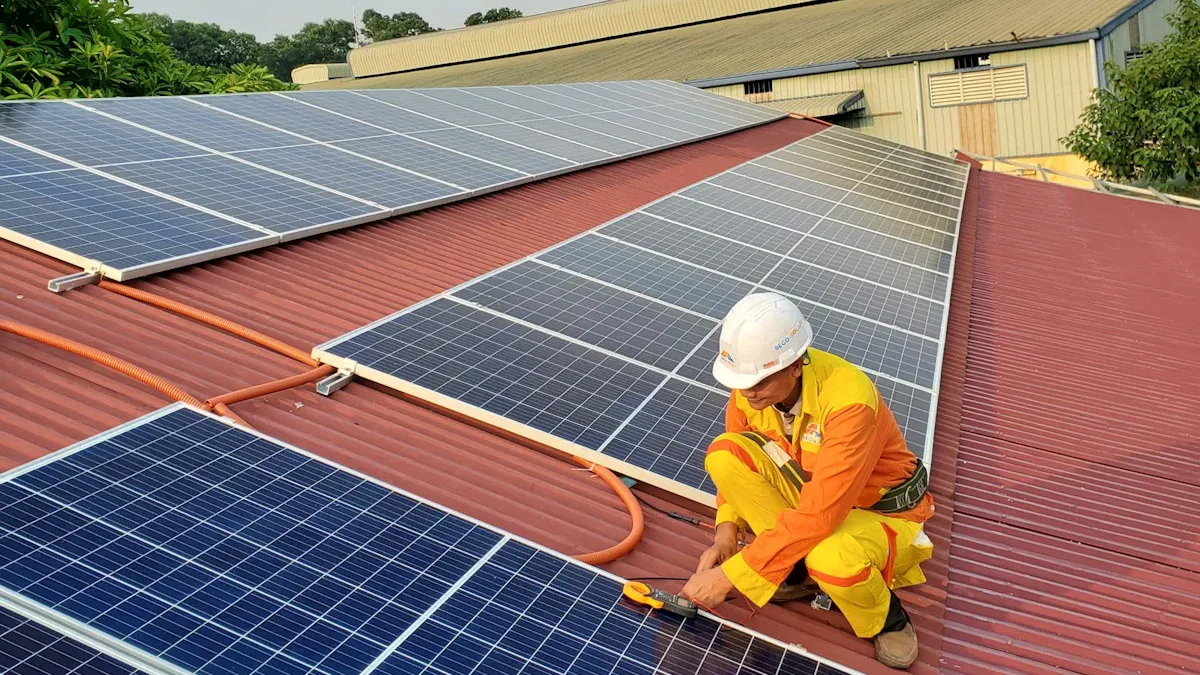
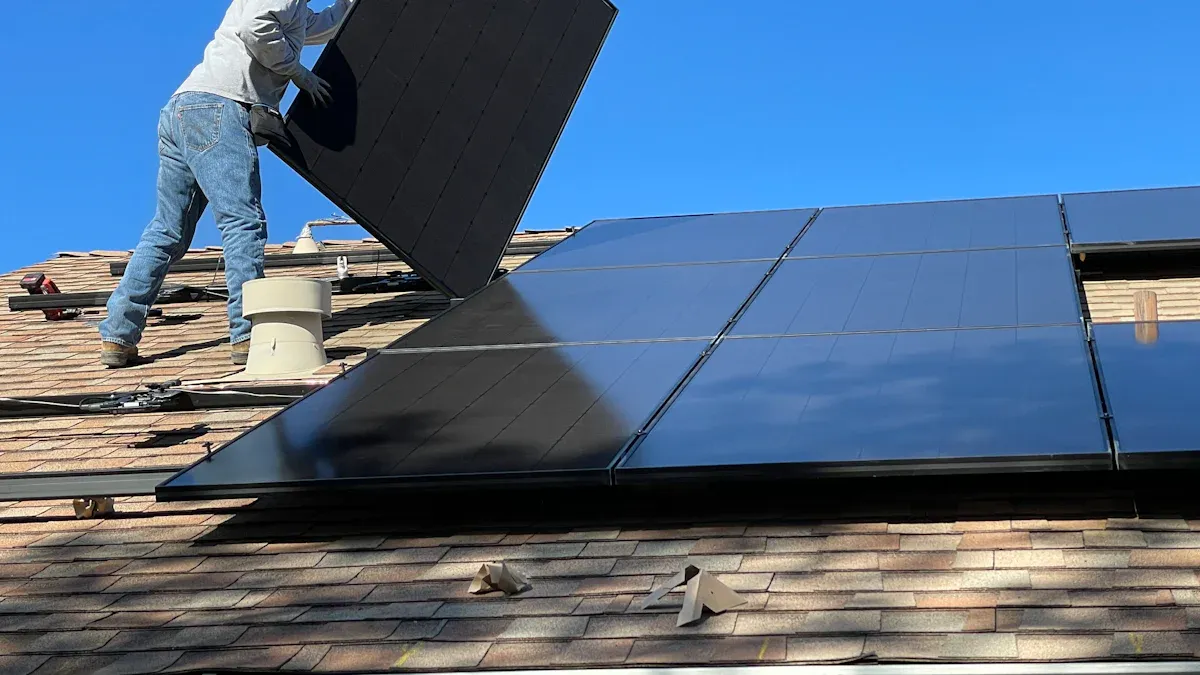
Installing Panels and Components
Now comes the hands-on part—installation! Start by setting up the mounting system. If you’re installing on a roof, make sure the mounts are secure and angled to maximize sunlight exposure. For ground-mounted systems, ensure the foundation is stable.
Once the mounts are ready, attach the solar panels. Carefully secure them to the mounts, following the manufacturer’s instructions. After that, connect the wiring. This step requires precision, as you’ll be linking the panels to the inverter and, if applicable, to a battery system.
Next, install the inverter. This device converts the direct current (DC) electricity generated by the panels into alternating current (AC) electricity, which your home uses. Place the inverter in a cool, shaded area to prevent overheating.
Finally, connect the system to your home’s electrical panel. This step is critical and may require professional assistance if you’re not experienced with electrical work.
Safety Reminder: Always turn off the power supply before working on your home’s electrical system. Safety first!
Post-Installation Testing and Maintenance
After installation, it’s time to test your system. Use a multimeter to check the voltage and ensure everything is functioning as expected. Monitor the inverter to confirm it’s converting electricity properly. If you notice any issues, troubleshoot them before turning the system on.
Once your system is up and running, regular maintenance is key. Clean the panels every few months to remove dirt and debris that can block sunlight. Inspect the wiring and connections periodically to ensure they remain secure.
Pro Tip: Keep a log of your system’s performance. This will help you spot any drops in efficiency and address them quickly.
Legal and Safety Considerations
Permits and Inspections
Before you start installing your solar system, you’ll need to check if permits are required in your area. Most local governments have rules about solar installations, and skipping this step could lead to fines or delays. You’ll likely need a building permit and an electrical permit. These ensure your system meets safety and construction standards.
After installation, inspections are usually required. Inspectors will check your work to confirm it’s safe and up to code. This might sound intimidating, but it’s a crucial step to ensure your system operates correctly.
Tip: Contact your local building department early in the process. They can guide you on the permits you need and how to schedule inspections.
Safety Precautions During Installation
Safety should be your top priority when installing a solar system. Working on a roof can be risky, so always use a safety harness and non-slip shoes. If you’re handling electrical components, turn off the power supply to avoid shocks.
Here are a few safety tips to keep in mind:
- Wear gloves and goggles to protect yourself from sharp edges and debris.
- Use a sturdy ladder and have someone hold it steady.
- Avoid working in bad weather, like rain or strong winds.
Reminder: Never rush through the installation. Taking your time can prevent accidents and costly mistakes.
Compliance with Local Regulations
Every area has its own rules for solar installations. These might include restrictions on panel placement, system size, or connection to the power grid. Ignoring these regulations could result in penalties or even having to remove your system.
To stay compliant, research your local laws before starting. Some areas also require approval from your utility company if you’re connecting to the grid.
Pro Tip: Keep all your paperwork organized. This includes permits, inspection reports, and receipts for materials. It’ll make things easier if questions arise later.
Installing a solar system yourself is doable, but it’s not for everyone. You’ll need time, tools, and technical know-how. If you’re confident in your skills, DIY can save money.
Tip: Unsure about your abilities? Hiring a pro ensures safety and compliance. Weigh your options carefully before jumping in.
FAQ
1. Do I need a permit to install a solar system myself?
Yes, most areas require permits for solar installations. Check with your local building department to ensure compliance with regulations.
Tip: Start the permit process early to avoid delays.
2. How much money can I save by installing a solar system myself?
DIY installation can save you thousands by cutting labor costs. However, the exact savings depend on your system size and local installation rates.
Note: Factor in tool costs and potential mistakes when calculating savings.
3. Can I connect my DIY solar system to the power grid?
Yes, but you’ll need approval from your utility company. They’ll ensure your system meets safety standards before connecting it to the grid.
Reminder: Always follow local grid-connection rules to avoid penalties.