

 Send Email
 Whatsapp


How do you run solar cables in a house?

Running a Solar Cable through your house might seem challenging, but it’s easier than you think with the right approach. You’ll need to plan where the cables will go, gather the proper tools, and follow safety rules. By doing it step by step, you can ensure everything runs smoothly and works efficiently.
Key Takeaways
- Plan where the cables will go to keep it safe. Use spaces like attics or walls to avoid extra drilling or cutting.
- Get tools like wire cutters, a drill, and a multimeter. Also, gather solar cables, conduits, and connectors to make the job easier.
- Stay safe by turning off the power and wearing safety gear. This helps stop accidents while working.
Tools and Materials for Solar Cable Installation
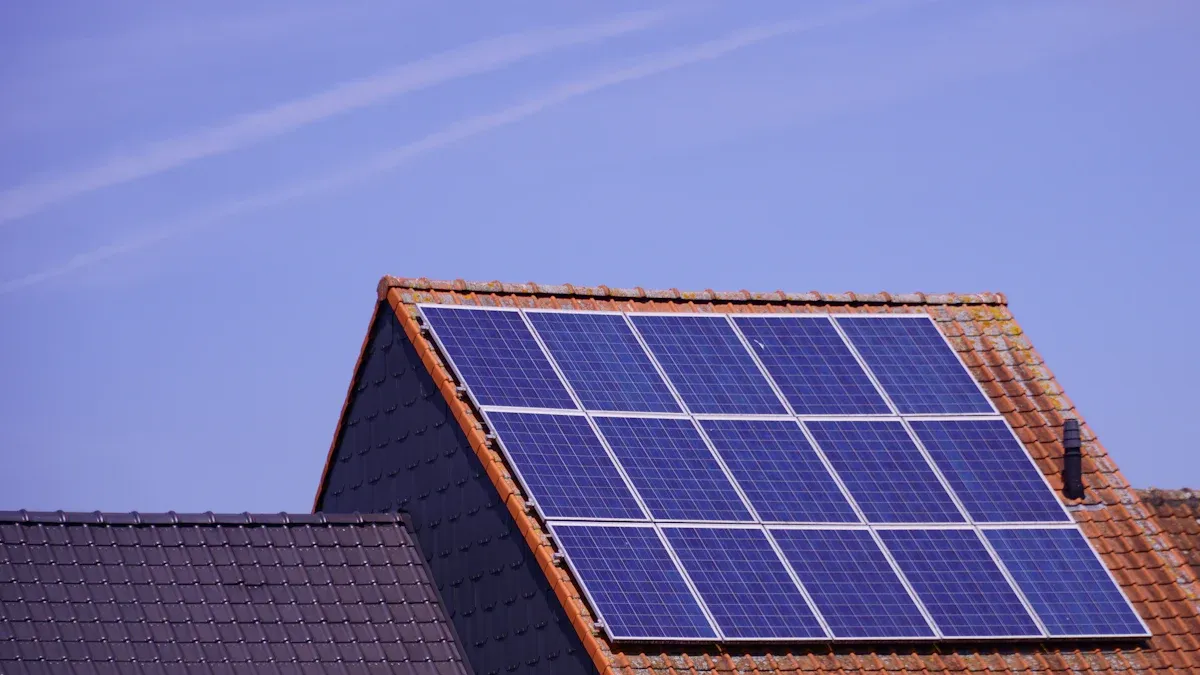
When it comes to running solar cables in your house, having the right tools and materials makes the job much easier. Let’s break it down so you know exactly what you’ll need.
Tools required for running solar cables
You don’t need a toolbox full of fancy gadgets, but a few essential tools will make the process smoother. Here’s what you should have:
- Wire cutters and strippers: These help you trim and prepare the solar cable for connections.
- Drill with bits: You’ll need this to create holes for running cables through walls or other surfaces.
- Fish tape or cable puller: This tool is a lifesaver for guiding cables through conduits or tight spaces.
- Screwdrivers: A set of flathead and Phillips screwdrivers will come in handy for securing connections.
- Multimeter: Use this to test the voltage and ensure everything is working correctly.
Tip: If you don’t already own these tools, consider borrowing or renting them to save money.
Materials needed for solar cable installation
Now that you’ve got your tools, let’s talk about materials. These are the items you’ll need to complete the installation:
- Solar cables: Choose high-quality cables designed for outdoor use and capable of handling the system’s voltage.
- Conduits: These protect the cables and keep them organized. PVC or metal conduits work well.
- Cable ties: Use these to secure the cables and prevent them from tangling.
- Connectors: MC4 connectors are commonly used for solar systems and ensure a secure connection.
- Electrical tape: This helps insulate and protect exposed wires.
Note: Always check that the materials meet local electrical codes and standards for safety.
With these tools and materials ready, you’re all set to start running your solar cables. Preparation is key, so double-check your list before diving in!
Step-by-Step Process for Running Solar Cables

Plan the Cable Path
Before you start, take a moment to plan where the solar cables will run. This step is crucial for a smooth installation. Begin by identifying the shortest and safest route from your solar panels to the inverter and then to the breaker box. Look for existing pathways like attics, crawl spaces, or walls that can accommodate the cables.
Tip: Avoid areas with sharp edges or high heat, as these can damage the cables over time.
Mark the path clearly using chalk or tape. This will help you stay organized and avoid unnecessary drilling or cutting. Planning ahead also ensures you use the right amount of cable, saving you time and money.
Install Conduits for Solar Cables
Conduits protect your solar cables and keep them neat. Start by measuring the length of the planned cable path and cutting the conduit to size. Use PVC or metal conduits, depending on your local building codes and the environment.
Secure the conduits along the marked path using clamps or brackets. Space them evenly to prevent sagging. If you need to bend the conduit, use a conduit bender to create smooth curves. This will make it easier to pull the cables through later.
Note: Make sure the conduits are properly sealed at the ends to keep out moisture and pests.
Run the Solar Cables
Now it’s time to run the solar cables through the conduits. Start by feeding the cable into one end of the conduit. If the path is long or has multiple bends, use fish tape or a cable puller to guide the cable through.
Once the cable is in place, leave some slack at both ends. This extra length will make it easier to connect the cables to the inverter and breaker box. Secure the cable inside the conduit using cable ties to prevent movement.
Safety Reminder: Always turn off the power supply before handling any electrical components.
Connect Solar Cables to the Inverter
With the cables in place, the next step is connecting them to the inverter. Locate the input terminals on the inverter, which are usually labeled for positive and negative connections. Strip the ends of the cables and attach them to the corresponding terminals.
Tighten the connections securely to ensure a stable flow of electricity. Double-check the polarity to avoid damaging the inverter or the solar system. Once connected, use electrical tape to insulate the exposed wires for added safety.
Connect Solar Cables to the Breaker Box
The final step is connecting the solar cables to your home’s breaker box. This is where the solar power integrates with your electrical system. Open the breaker box and locate the designated solar breaker.
Attach the cables to the breaker, ensuring the positive and negative wires are connected correctly. Tighten the screws to secure the cables in place. After completing the connections, close the breaker box and test the system to make sure everything is working as expected.
Pro Tip: If you’re unsure about this step, consider consulting a licensed electrician to ensure compliance with local electrical codes.
Safety Tips for Solar Cable Installation
When working with solar cables, safety should always come first. Following proper guidelines and handling tools carefully can prevent accidents and ensure your installation goes smoothly.
Electrical safety guidelines
Electricity can be dangerous if you don’t take the right precautions. Here are some essential safety tips to keep in mind:
- Turn off the power supply: Before you start working, make sure the power is completely off. This reduces the risk of electric shocks.
- Wear protective gear: Use insulated gloves and safety goggles to protect yourself from electrical hazards.
- Check for damaged cables: Inspect your solar cables for cuts or frayed edges. Damaged cables can cause short circuits or fires.
- Use a multimeter: Test the cables with a multimeter to confirm there’s no live current before handling them.
- Follow local codes: Always adhere to your area’s electrical codes and regulations. These rules are designed to keep you safe.
⚠️ Important: Never work on electrical components in wet conditions. Water increases the risk of electrocution.
By following these guidelines, you’ll create a safer environment for your solar cable installation.
Handling tools and cables safely
Using tools and handling cables the right way can make your job easier and safer. Here’s how you can do it:
- Organize your tools: Keep your tools within reach but away from the work area to avoid tripping over them.
- Use tools correctly: Always use the right tool for the job. For example, use wire strippers instead of scissors to avoid damaging the cable.
- Secure the cables: Use cable ties to keep the solar cables neat and prevent them from tangling.
- Avoid sharp edges: When running cables through walls or conduits, check for sharp edges that could cut the insulation.
- Don’t rush: Take your time when handling cables. Rushing can lead to mistakes or injuries.
💡 Tip: Label your cables as you go. This makes it easier to identify them during troubleshooting or future maintenance.
By handling tools and cables carefully, you’ll not only protect yourself but also ensure your solar cable installation lasts for years.
Professional Help vs. DIY Solar Cable Installation
When to hire a professional
Sometimes, tackling a solar cable installation on your own isn’t the best idea. If you’re unsure about electrical work or local building codes, it’s time to call in a professional. Licensed electricians and solar installers have the expertise to handle complex setups and ensure everything is safe and compliant.
You should also consider hiring a pro if your home has unique challenges, like hard-to-access areas or an older electrical system. These situations can make DIY installation tricky and even dangerous.
💡 Tip: If you’re installing a large solar system or connecting multiple panels, professional help can save you time and prevent costly mistakes.
Another reason to hire a professional is peace of mind. They’ll test the system thoroughly and make sure it’s running efficiently. Plus, many installers offer warranties for their work, giving you extra protection in case something goes wrong later.
Advantages of professional installation
Professional installation comes with several benefits that make it worth considering. First, it guarantees compliance with local regulations. Experts know the rules inside and out, so you won’t have to worry about fines or safety issues.
Second, professionals bring specialized tools and knowledge to the table. They can handle tasks like connecting cables to the breaker box or troubleshooting electrical problems with ease.
⚠️ Important: Mistakes during installation can damage your solar system or even your home’s electrical setup. Professionals help you avoid these risks.
Finally, hiring a pro saves you time and effort. Instead of spending hours researching and troubleshooting, you can sit back and let the experts do the work. This is especially helpful if you’re new to solar systems or don’t have the right tools.
In the end, professional installation ensures your solar system works efficiently and safely, giving you one less thing to worry about.
Installing solar cables in your house takes planning and the right tools. Safety matters too. If you’re confident, a DIY approach works. But hiring a professional guarantees everything meets local rules and runs efficiently. You’ll save time and avoid mistakes. In the end, it’s about choosing what works best for you.
FAQ
What type of solar cables should you use?
Choose UV-resistant cables designed for outdoor use. They handle high voltage and last longer in harsh weather conditions.
Tip: Look for cables labeled "PV-rated" for solar systems.
Can you install solar cables without conduits?
You can, but conduits protect cables from damage and keep them organized. They’re especially useful in areas with pests or extreme weather.
⚠️ Important: Local codes may require conduits for safety.
How do you test if your solar cables are working?
Use a multimeter to check voltage and continuity. This ensures the cables are transmitting power correctly.
💡 Pro Tip: Test after installation to catch issues early.