

 Send Email
 Whatsapp


Comprehensive Guide to Solar Panel Cables and Connectors

You rely on solar panel cables and connectors to move electricity safely from your panels to your devices. These parts must handle high voltage and current. Choosing the right Solar Cable and connector helps you avoid power loss and keeps your system safe.
Key Takeaways
- Choose solar cables and connectors that match your system’s voltage and current to keep your setup safe and efficient.
- Use weather-resistant cables like PV Wire for outdoor use and pickconnectors with locking features to protect against water and dust.
- Install cables carefully with secure connections, check your system regularly, and replace damaged parts to ensure long-lasting performance.
Types of Solar Cable
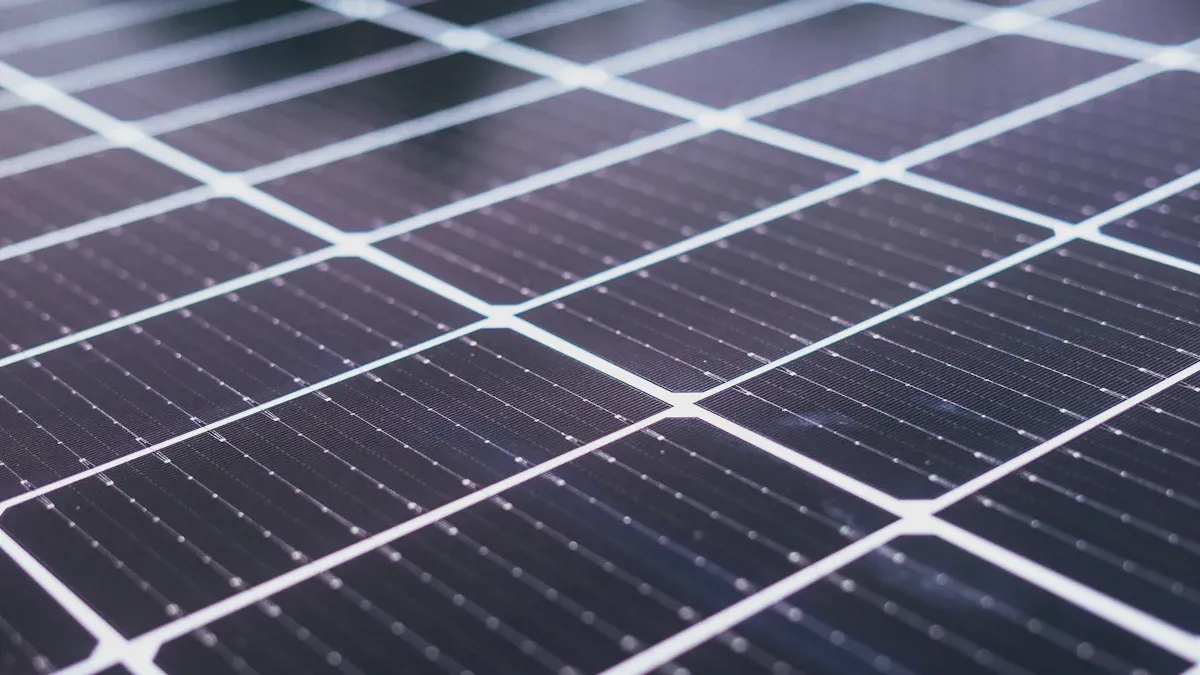
When you set up a solar power system, you need to pick the right solar cable. Each type of cable has special features. You should know the differences to make the best choice for your project.
PV Wire
PV wire works well for connecting solar panels. You can use it outdoors because it resists sunlight and water. This wire handles high temperatures and voltage. Many installers choose PV wire for its safety and long life.
USE-2 Cable
USE-2 cable also connects solar panels. You often see it in ground-mounted systems. This cable resists heat and sunlight. You should not use it inside buildings. USE-2 cable works best for outdoor use.
THHN Wire
THHN wire is common in homes and buildings. You can use it for indoor wiring. It does not have the same weather resistance as PV wire or USE-2 cable. If you use THHN wire outside, you must put it in a conduit for protection.
Solar Cable Comparison Table
| Cable Type | Outdoor Use | Sunlight Resistant | Max Voltage | Typical Use |
|---|---|---|---|---|
| PV Wire | Yes | Yes | 600-2000V | Solar panel wiring |
| USE-2 | Yes | Yes | 600V | Ground-mount solar |
| THHN | No* | No | 600V | Indoor wiring |
*You must use conduit for THHN wire outdoors.
Choosing the right solar cable helps your system run safely and efficiently.
Types of Solar Panel Connectors
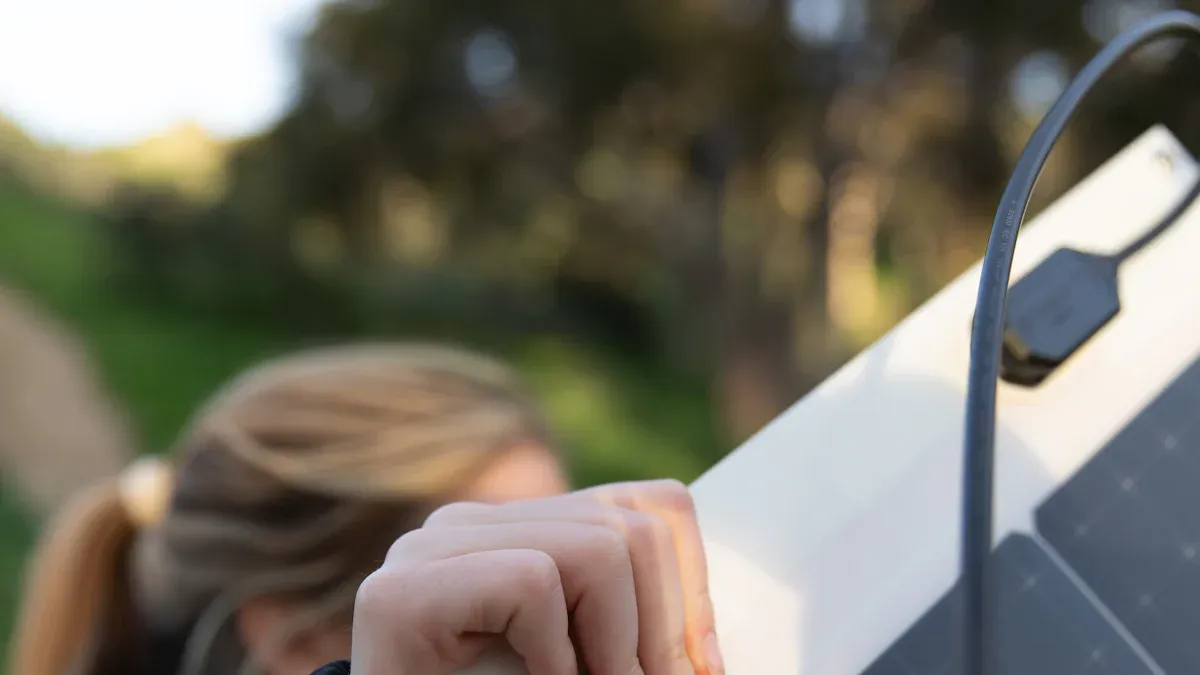
When you build a solar power system, you need the right connectors. These connectors help you join wires and panels safely. Each type has its own features and uses.
MC4 Connectors
You see MC4 connectors in most modern solar systems. They snap together easily and lock in place. This design keeps water and dust out. You can connect and disconnect them without special tools. MC4 connectors work well for outdoor use. They handle high voltage and last a long time.
MC3 Connectors
MC3 connectors came before MC4 connectors. You may find them in older solar setups. They do not have a locking system. This makes them less safe in harsh weather. You should use MC3 connectors only if your system already has them.
Anderson Connectors
Anderson connectors look different from MC connectors. You use them for larger systems or battery banks. They can handle high current. You can connect and disconnect them many times. Anderson connectors work well for portable solar kits.
Connector Comparison Table
| Connector Type | Locking Mechanism | Weatherproof | Typical Use | Max Current |
|---|---|---|---|---|
| MC4 | Yes | Yes | Modern solar panels | 30A |
| MC3 | No | Limited | Older solar panels | 30A |
| Anderson | Yes | Yes | Battery/large systems | 50A+ |
Tip: Always match your connector type to your panel and system needs. This helps you keep your system safe and reliable.
How to Choose the Right Solar Cable and Connectors
Choosing the right cables and connectors for your solar system helps you get the best performance and keeps your setup safe. You need to look at several important factors before you make a decision.
Current and Voltage Ratings
You must check the current and voltage ratings for every cable and connector. Each part has a limit for how much electricity it can carry. If you use a cable with a low rating, it can overheat or even catch fire. Always match the cable and connector ratings to the output of your solar panels. For example, if your solar panels produce 10 amps, pick a cable and connector that can handle at least 10 amps. It is smart to choose a rating that is a little higher than your system needs. This gives you extra safety.
Tip: Look for the current (A) and voltage (V) numbers printed on the cable or in the product manual.
Cable Size and Length
The size and length of your cable matter a lot. Thicker cables carry more current with less resistance. If you use a cable that is too thin, you lose power as heat. Longer cables also increase resistance, which means you lose even more power. You should use the shortest cable possible for your setup. If you need a long cable, pick a thicker one to reduce power loss.
| Cable Gauge (AWG) | Max Current (Amps) | Typical Use |
|---|---|---|
| 14 | 15 | Small solar panels |
| 12 | 20 | Medium solar panels |
| 10 | 30 | Large solar panels |
Note: Always check the cable chart for your specific needs.
Copper vs. Aluminum Material
You will find cables made from copper or aluminum. Copper cables carry electricity better than aluminum. They have less resistance and last longer. Aluminum cables cost less and weigh less, but they do not perform as well as copper. For most solar systems, copper is the better choice. You get better efficiency and fewer problems over time.
Temperature and Weather Resistance
Your solar cable must handle the weather in your area. Some cables work well in hot or cold temperatures. Others resist sunlight, rain, and snow. If you install your system outdoors, pick a cable that is rated for UV and water resistance. This helps your system last longer and keeps it safe.
Always check the temperature and weather ratings on the cable label.
Safety Certifications
Safety certifications show that your cable and connectors meet strict standards. Look for marks like UL (Underwriters Laboratories) or TUV. These labels mean the product passed safety tests. Using certified parts protects you from electrical hazards and helps you meet local building codes.
- UL Listed: Common in the United States
- TUV Certified: Common in Europe and other regions
Using certified solar cable and connectors gives you peace of mind and helps you avoid problems during inspections.
Solar Cable and Connector Installation Guide
Preparing Cables and Connectors
Start by gathering all your tools and materials. You need wire cutters, a wire stripper, and the right connectors for your system. Measure the length you need for each solar cable. Cut the cable to size. Strip about half an inch of insulation from each end. Make sure the copper strands stay neat and do not fray. Check that your connectors match the cable size.
Tip: Always work on a clean, dry surface to avoid mistakes or accidents.
Crimping and Attaching Connectors
Slide the connector’s metal pin onto the stripped end of the cable. Use a crimping tool to squeeze the pin tightly onto the wire. The connection should feel solid and not wiggle. Insert the crimped pin into the connector housing until you hear a click. This step locks the pin in place.
- Double-check each connection for a secure fit.
- Repeat for every cable end.
Locking and Unlocking Connectors
Push the connectors together until you hear a snap. This sound means the connection is secure. To unlock, press the tabs on the sides and pull the connectors apart. Never force them. For MC4 connectors, you may need a special tool to unlock them safely.
Note: Locked connectors keep water and dust out of your system.
Series and Parallel Wiring Methods
You can wire solar panels in series or parallel. In series, connect the positive end of one panel to the negative end of the next. This setup increases voltage. In parallel, connect all positives together and all negatives together. This increases current. Choose the method that matches your system’s needs.
| Wiring Type | Increases | Use When |
|---|---|---|
| Series | Voltage | Need higher voltage |
| Parallel | Current | Need higher current |
Safety and Best Practices for Solar Cable Connections
Ensuring Secure Connections
You need to make sure every connection in your solar system is tight and secure. Loose connections can cause power loss or even start a fire. Always push connectors together until you hear a click or snap. Use the right tools when you crimp wires. Check that no copper strands stick out from the connector. If you see any exposed wire, redo the connection. A secure connection keeps your system safe and working well.
Avoiding Common Mistakes
Many people make simple mistakes when working with solar cable and connectors. You should avoid cutting cables too short. Short cables make it hard to reach your panels and can put stress on the wires. Never mix different types of connectors. This can lead to poor contact and system failure. Do not skip safety checks. Always inspect your work before turning on the system.
Tip: Label each cable so you know where it goes. This helps you fix problems faster.
Maintenance Tips
Regular checks help your solar system last longer. Look at each cable and connector every few months. Watch for cracks, corrosion, or loose parts. Clean off any dirt or dust with a dry cloth. If you find damage, replace the part right away. Keeping your solar cable connections clean and tight helps your system run safely and efficiently.
Choosing the right solar cable and connectors keeps your solar system safe and efficient. Always follow installation tips for strong, lasting connections. You protect your investment when you check your work and use quality parts. 🛠️ Remember, best practices help your solar setup perform at its best.
FAQ
What happens if you use the wrong cable size for your solar panels?
Using the wrong cable size can cause power loss or overheating. You should always match the cable size to your system’s needs.
Can you mix different types of connectors in one solar system?
You should not mix connector types. Mixing connectors can cause poor connections or system failure. Always use the same type for safety.
How often should you check your solar cables and connectors?
- You should check your cables and connectors every three to six months.
- Look for damage, dirt, or loose parts to keep your system safe.