

 Whatsapp


how to choose a solar cable
A Solar Cable is the lifeline of your solar power system. It carries electricity from your panels to the inverter and beyond. Choosing the right one isn’t just about performance—it’s about safety and durability too. Factors like voltage ratings, weather resistance, and cable type all play a role in making the best choice.
Key Takeaways
- Pick solar cables with correct voltage and current ratings. This keeps your system safe and working well. Always use cables that meet or go beyond your system's needs.
- Use strong insulation materials like XLPE or EPR. These protect cables from heat and water. This stops damage and makes cables last longer.
- Check your solar cables often for wear or damage. Fixing problems early helps cables last longer. It also keeps your solar system working properly.
Understanding the Basics of a Solar Cable
What is a solar cable?
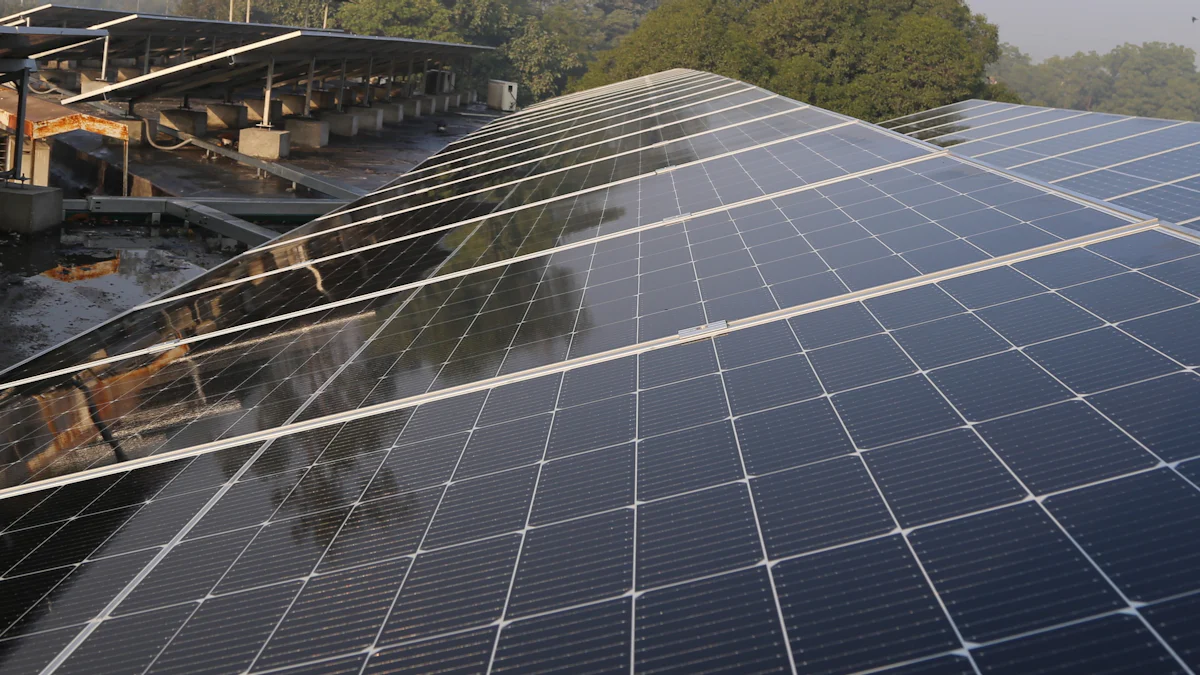
A solar cable is a specialized wire designed to connect the components of your solar power system. It transfers electricity generated by your solar panels to other parts of the system, like the inverter or battery. Unlike regular electrical wires, solar cables are built to handle the unique demands of solar energy systems. They’re made to withstand high temperatures, UV exposure, and harsh weather conditions.
You’ll often see solar cables labeled with specific ratings for voltage, current, and insulation. These ratings ensure the cable can safely carry the electricity your system produces. Without the right cable, your system might not work efficiently—or worse, it could become a safety hazard.
The role of a solar cable in energy transfer and system safety
Think of a solar cable as the highway for your solar energy. It carries the electricity from your panels to where it’s needed, ensuring smooth energy transfer. But it’s not just about moving electricity. A good solar cable also protects your system from electrical faults, overheating, and short circuits.
Using the wrong cable can lead to energy loss, overheating, or even fires. That’s why choosing the right one is so important. A high-quality solar cable ensures your system runs efficiently and safely, even in tough conditions. It’s an investment in both performance and peace of mind.
Key Technical Specifications for Solar Cables
Voltage and current ratings: why they matter.
When choosing a solar cable, you need to pay close attention to its voltage and current ratings. These ratings tell you how much electricity the cable can safely handle. If the cable's capacity is too low, it could overheat or fail, putting your entire system at risk.
For example, most residential solar systems operate at a voltage of 600V to 1000V. Your cable must match or exceed this range. The current rating is equally important because it depends on the amount of electricity your panels generate. Always check the specifications of your system and choose a cable that meets those requirements.
Tip: It's better to pick a cable with a slightly higher rating than your system's maximum output. This gives you a safety margin and room for future upgrades.
Temperature ratings and insulation types.
Solar cables face extreme temperatures, especially in outdoor installations. That’s why you need to check the temperature rating. Some cables can handle up to 90°C, while others are designed for even higher temperatures.
Insulation plays a big role here. High-quality insulation protects the cable from heat, cold, and even moisture. Look for materials like XLPE (cross-linked polyethylene) or EPR (ethylene propylene rubber). These are durable and resist cracking under harsh conditions.
Conductor materials: copper vs. aluminum.
The conductor material affects both performance and cost. Copper is the most common choice because it’s highly efficient at conducting electricity. It’s also durable and resists corrosion. However, copper cables are more expensive.
Aluminum is a cheaper alternative, but it’s less efficient and more prone to damage. If you’re on a budget, aluminum might work for short distances. For long-term reliability, though, copper is the better option.
Note: Always weigh the pros and cons of each material based on your system’s needs and your budget.
Environmental and System-Specific Factors
Weather resistance and UV protection.
Your solar cables will spend a lot of time outdoors, so they need to handle whatever Mother Nature throws at them. Rain, snow, and intense sunlight can all take a toll on your system. That’s why weather resistance and UV protection are non-negotiable.
Look for cables specifically designed for outdoor use. These cables come with UV-resistant insulation that won’t crack or degrade under the sun’s rays. They also resist moisture, which helps prevent short circuits during rainy seasons. If you live in an area with extreme weather, investing in high-quality, weatherproof cables is a smart move. It keeps your system running smoothly and avoids costly repairs down the road.
Cable length and managing voltage drop.
The length of your solar cable matters more than you might think. Longer cables can lead to voltage drop, which means some of the electricity generated by your panels gets lost before it reaches your inverter. This reduces your system’s efficiency.
To minimize voltage drop, keep your cables as short as possible. If you need longer cables, choose ones with a larger conductor size. Larger conductors reduce resistance, helping you maintain energy efficiency. Always calculate the voltage drop for your system and pick a cable that keeps it within acceptable limits.
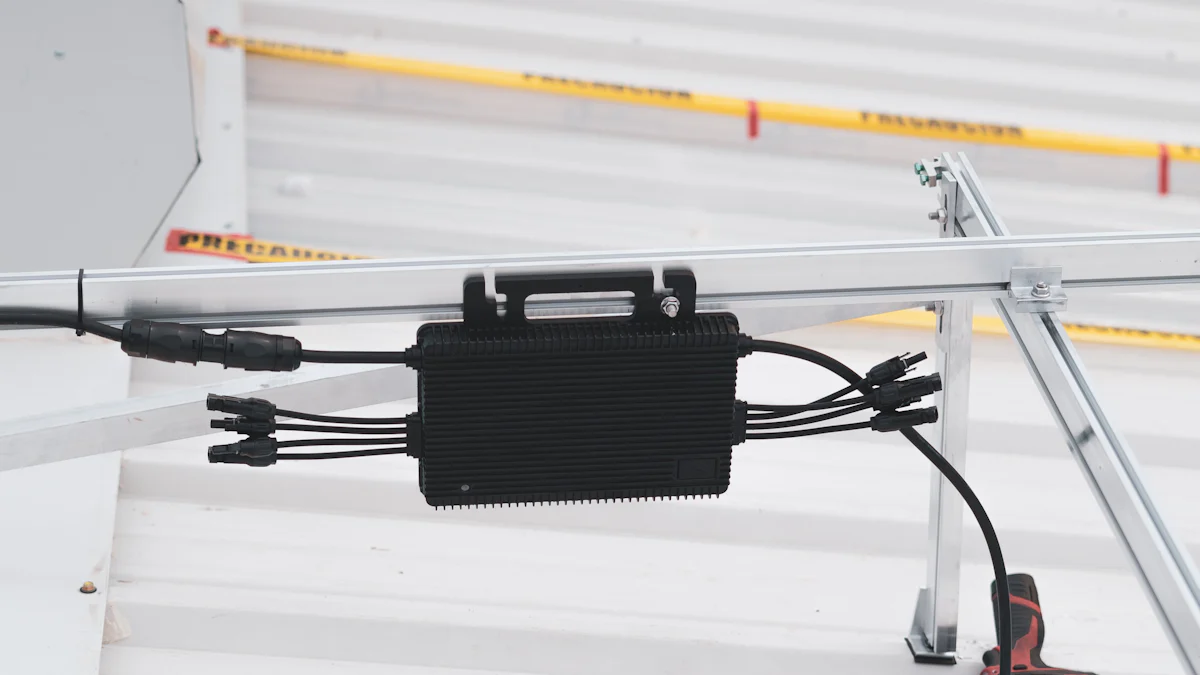
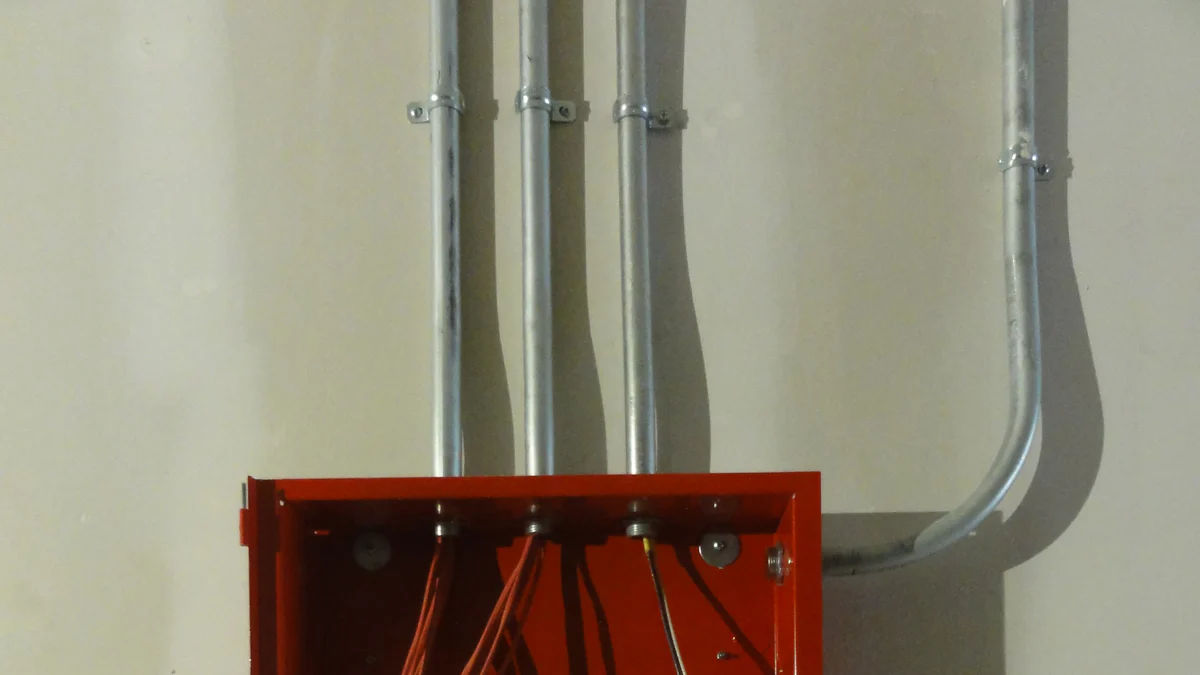
Installation type: above ground vs. underground.
How you install your cables also affects your choice. Above-ground installations are easier to set up and maintain, but the cables are more exposed to weather and physical damage. For these setups, choose cables with tough, UV-resistant insulation.
Underground installations offer better protection but require cables with additional durability. Look for cables rated for direct burial. These are designed to resist moisture, soil pressure, and even pests. Make sure to follow local regulations for underground wiring to ensure safety and compliance.
Comparing Types of Solar Cables
PV Wire, USE-2 Wire, and THHN Wire: an overview.
When it comes to solar cables, you’ll come across terms like PV Wire, USE-2 Wire, and THHN Wire. Each has unique features, and knowing the difference helps you make the right choice.
- PV Wire: This is the go-to option for most solar installations. It’s designed for outdoor use, with excellent UV resistance and insulation that handles high temperatures. It’s also double-insulated, making it extra safe.
- USE-2 Wire: This wire works well for underground installations. It’s durable and moisture-resistant but doesn’t offer the same UV protection as PV Wire.
- THHN Wire: This is a general-purpose wire. While it’s cheaper, it’s not ideal for outdoor solar systems unless placed inside a conduit.
Tip: For outdoor setups, PV Wire is usually your best bet. It’s built to last in tough conditions.
Single-core vs. multi-core solar cables.
You’ll also need to decide between single-core and multi-core cables. Single-core cables have one conductor, while multi-core cables bundle several conductors together.
- Single-core cables: These are common in solar systems. They’re simple, flexible, and easy to install.
- Multi-core cables: These are bulkier but can carry multiple circuits in one cable. They’re great for complex setups where space is limited.
For most residential solar systems, single-core cables are the standard choice. They’re straightforward and get the job done.
Choosing the right cable type for your system.
So, how do you pick the right solar cable for your setup? Start by considering your system’s needs. If your cables will be exposed to the elements, go for PV Wire. For underground installations, USE-2 Wire is a solid choice. And if you’re working indoors or using conduits, THHN Wire can save you money.
Think about the complexity of your system too. Single-core cables are perfect for simple setups, while multi-core cables work better for more advanced systems. Always match the cable type to your installation environment and energy requirements.
Reminder: Choosing the right cable ensures your system runs efficiently and safely for years to come.
Practical Tips for Solar Cable Installation and Maintenance
Best practices for cable routing and securing.
Routing and securing your cables properly is essential for a safe and efficient solar setup. Start by planning the shortest and most direct path for your cables. This reduces energy loss and keeps things tidy. Use cable clips or ties to secure the cables along the route. Make sure they’re tight enough to hold the cables in place but not so tight that they damage the insulation.
Avoid sharp bends or kinks in the cables. These can weaken the insulation over time. If your cables cross any sharp edges, use protective sleeves or conduits to prevent wear and tear. Also, keep your cables away from areas where they might get stepped on or damaged by tools.
Tip: Label your cables during installation. It makes future maintenance or troubleshooting much easier.
Regular inspection and maintenance guidelines.
Even the Best Solar Cable needs regular care to stay in top shape. Inspect your cables at least once a year. Look for signs of wear, like cracks in the insulation or discoloration. Check for loose connections or corrosion at the terminals.
If you spot any damage, replace the cable immediately. Damaged cables can lead to energy loss or even safety hazards. Clean the cables gently if they’re dirty, but avoid using harsh chemicals that might degrade the insulation.
Reminder: Regular maintenance not only extends the life of your cables but also ensures your solar system runs efficiently.
Avoiding common installation mistakes.
Some mistakes during installation can cause big problems later. One common error is using the wrong type of cable for your setup. Always choose a cable designed for solar systems and rated for your specific conditions.
Another mistake is ignoring voltage drop. Long cables with small conductors can waste energy. Always calculate the voltage drop and pick the right cable size.
Finally, don’t rush the installation. Take your time to secure the cables properly and double-check all connections. A little extra effort now can save you from costly repairs down the road.
Pro Tip: If you’re unsure about any part of the installation, consult a professional. It’s better to get it right the first time.
Choosing the right solar cable is crucial for your system’s performance and safety. Focus on the key factors: technical specifications, environmental conditions, and cable types. Always prioritize quality over cost. If you’re unsure, consult a professional. A well-chosen cable ensures your solar system runs efficiently and lasts for years.
FAQ
What happens if I use the wrong solar cable?
Using the wrong cable can cause overheating, energy loss, or even fires. Always choose cables rated for your system's voltage, current, and environmental conditions.
How do I calculate the correct cable size?
Use a voltage drop calculator. Input your system's voltage, current, and cable length. This ensures you pick a cable that minimizes energy loss.
Tip: Many online tools make this calculation quick and easy!
Can I install solar cables myself?
Yes, but only if you're confident in your skills. Incorrect installation risks safety and efficiency. When in doubt, hire a professional for peace of mind.
Reminder: Safety first! Double-check all connections and follow local regulations.