

 Send Email
 Whatsapp


How many MC4 connectors do I need per panel?
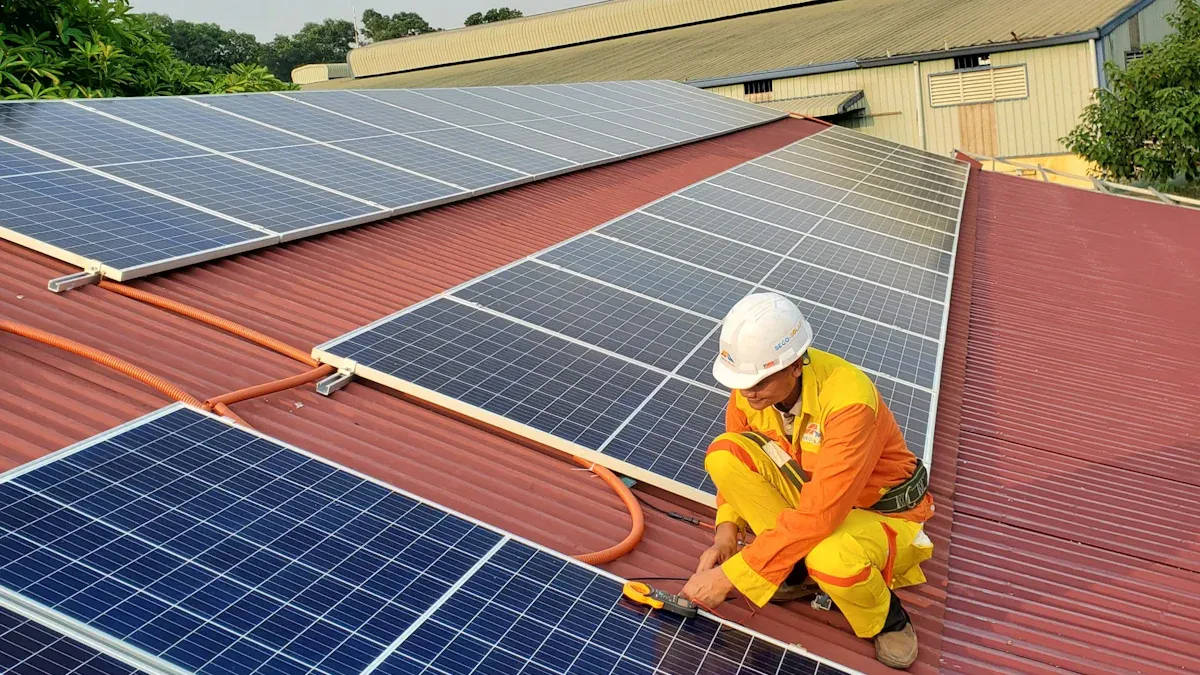
You connect each solar panel with two MC4 connectors—one male and one female. These connectors attach to the positive and negative leads.
- You always need two Solar Connector parts per panel, no matter the size.
Counting the right number saves you time and prevents installation problems.
Key Takeaways
- Each solar panel needs two MC4 connectors—one for the positive wire and one for the negative wire—to ensure safe and efficient connections.
- Check your panel’s specifications and wiring method before buying connectors to get the right type and number, and always buy a few extras for repairs.
- Use proper tools and follow installation steps carefully to create secure, weatherproof connections that keep your solar system safe and working well.
Solar Connector Requirements for Each Panel
Standard Number of MC4 Connectors
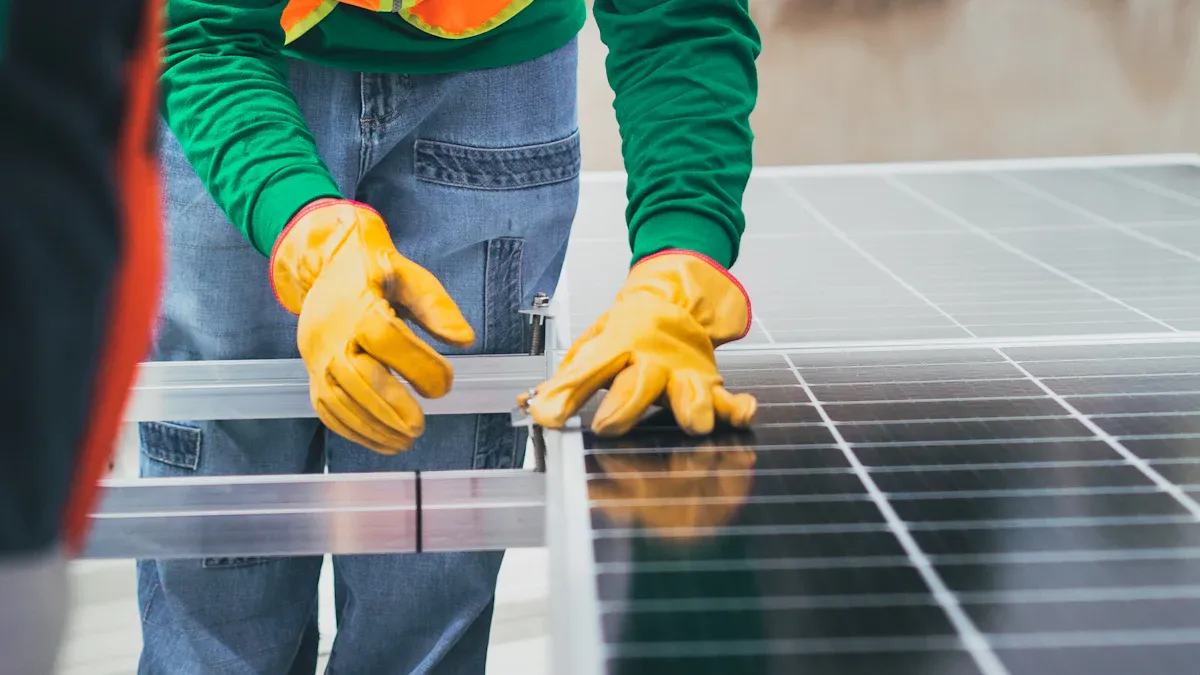
You need to use two MC4 connectors for each solar panel. One connector attaches to the positive terminal, and the other attaches to the negative terminal. This setup allows you to connect your panel safely and efficiently. Most solar panels, no matter the brand or size, follow this standard.
Tip: Always double-check the number of connectors in your kit before starting your project. Missing a solar connector can delay your installation.
Here is a simple table to help you plan:
| Number of Panels | Total MC4 Connectors Needed |
|---|---|
| 1 | 2 |
| 2 | 4 |
| 4 | 8 |
| 10 | 20 |
You can see that the number of connectors increases with each panel you add. This makes it easy to calculate how many you need for your solar setup.
How Solar Connectors Attach to Panel Terminals
You will find two wires coming out of each solar panel. One wire is positive, and the other is negative. Each wire needs its own MC4 connector. You attach the connectors by pushing them onto the ends of the wires and locking them in place. This creates a secure and weatherproof connection.
- First, strip the insulation from the end of each wire.
- Next, insert the wire into the metal contact inside the connector.
- Use a crimping tool to secure the wire.
- Push the contact into the connector housing until it clicks.
- Repeat these steps for both the positive and negative wires.
Note: A good connection keeps your system safe and helps it last longer. If you do not attach the solar connector properly, you might face power loss or safety risks.
You should always follow the instructions from your panel’s manufacturer. Some panels may come with connectors already attached, but many require you to install them yourself. Using the right solar connector ensures your system works well and stays safe in all weather.
Factors That Affect Solar Connector Quantity
Panel Type and Output Differences
You may notice that not all solar panels look the same. Some panels have higher wattage or different voltage ratings. These differences can affect how you connect them. For example, panels with built-in junction boxes sometimes come with connectors already attached. You only need extra connectors if you plan to extend the wiring or replace damaged parts.
Panels designed for higher output often use thicker wires. You must check if your solar connector matches the wire size. If you use the wrong connector, you risk poor connections and lower efficiency. Always read the specifications for your panel before buying connectors. This step helps you avoid mistakes and keeps your system safe.
Tip: If your panels have factory-installed connectors, count only the connectors you need for extra wiring or repairs.
Series vs. Parallel Wiring Methods
You can wire solar panels in series or parallel. The method you choose changes how many connectors you need. In a series connection, you link the positive terminal of one panel to the negative terminal of the next. You only need connectors for the first and last panel in the chain. This setup reduces the total number of connectors.
In a parallel connection, you connect all positive terminals together and all negative terminals together. Each panel needs its own pair of connectors. This method increases the total number of connectors required.
Here is a quick comparison:
| Wiring Method | Connectors Needed per Panel |
|---|---|
| Series | Fewer (shared between panels) |
| Parallel | More (each panel needs two) |
Choose your wiring method based on your system’s needs. This choice helps you plan your solar connector purchase.
Identifying and Choosing the Right Solar Connector
Visual Identification of MC4 Connectors
You can spot MC4 connectors by their unique shape and locking system. Each connector has a cylindrical body with a ribbed grip. The male connector has a metal pin inside, while the female connector has a socket. Both connectors have a waterproof seal. You will often see a small arrow or "+" and "–" symbols on the connectors to show polarity. If you look closely, you will notice that MC4 connectors snap together with a click. This feature keeps your solar panel connections secure, even in harsh weather.
Checking Manufacturer Specifications
You should always check your solar panel’s manual or label before buying connectors. Manufacturers list the type of connector needed, the wire size, and the voltage rating. Some panels come with connectors already attached. Others need you to install them. If you use the wrong connector, you risk damaging your system or losing power. Look for the model number and compare it with the connector packaging. This step helps you avoid mistakes and keeps your solar setup safe.
Tip: If you cannot find the information on the panel, visit the manufacturer’s website or contact their support team.
Tips for Buying and Installing Solar Connectors
When you buy connectors, choose high-quality products from trusted brands. Cheap connectors may not last long or may not fit well. Always buy a few extra connectors in case you need replacements. Use the right tools, such as a crimping tool, to attach the connectors to the wires. Make sure each connection clicks into place. After installation, check each connection by gently pulling on the wires. A secure connection will not come loose.
| Step | What to Do |
|---|---|
| 1 | Check panel specs |
| 2 | Buy matching connectors |
| 3 | Use proper tools |
| 4 | Test each connection |
A good solar connector ensures your system works safely and efficiently.
Most solar panels need two MC4 connectors—one for each terminal. You should check your panel’s specs and wiring plan before you buy. Buy a few extra connectors for future repairs. Using the right parts keeps your solar setup safe and reliable.
FAQ
How do you know if your MC4 connectors are compatible with your solar panel?
You should check your panel’s manual. Look for the connector type and wire size. If you see “MC4” listed, your connectors will fit.
Can you reuse MC4 connectors after removing them?
You can reuse MC4 connectors if they are not damaged. Always inspect them for cracks or wear before using them again.
What tools do you need to install MC4 connectors?
- Wire stripper
- Crimping tool
- MC4 assembly tool
These tools help you make safe and strong connections.