

 Send Email
 Whatsapp


How do I know what size solar cable I need?

You need the correct Solar Cable size to keep your solar power system safe and efficient. First, calculate the highest current your system will use. Then, measure the cable length. Pick a cable that keeps voltage drop below 3%. Always add a 1.25x safety margin to your current.
Key Takeaways
- Calculate your system's maximum current by dividing total wattage by voltage, then add a 1.25 safety margin to handle extra load.
- Measure the total cable length for both positive and negative wires, and choose a cable size that keeps voltage drop under 3% to maintain efficiency.
- Use a cable gauge chart or online calculator to pick the right cable size, and always choose cables rated for solar use to keep your system safe and reliable.
Step-by-Step Solar Cable Sizing
Find Maximum Current (Amps)
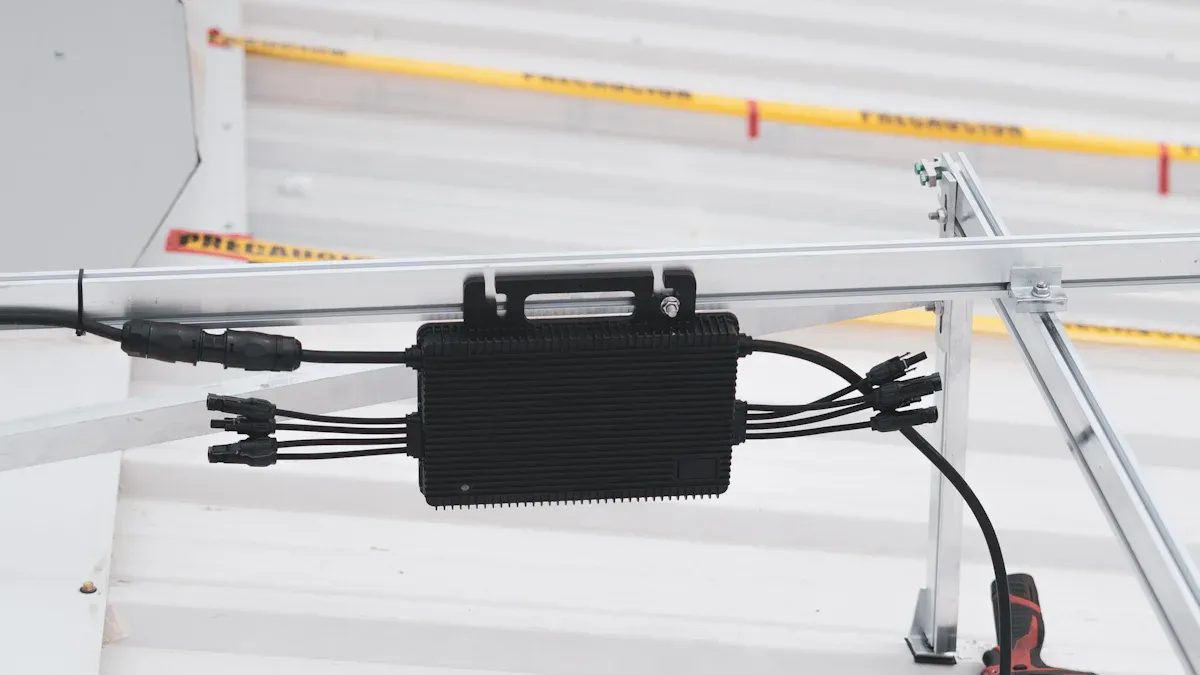
Start by finding the highest current your solar system will carry. You can do this by dividing the total wattage of your solar panels by the system voltage. For example, if you have 400 watts of solar panels and a 12-volt system, use this formula:
Current (Amps) = Power (Watts) ÷ Voltage (Volts) Current = 400 ÷ 12 = 33.3 Amps This number tells you how much electricity will flow through your solar cable at its peak.
Measure Total Cable Length
Next, measure the total length of the cable run. Measure from the solar panels to the charge controller, or from the battery to the inverter, depending on your setup. Always measure both the positive and negative wires, then add them together. For example, if the distance from your solar panels to your charge controller is 20 feet, the total cable length is 40 feet (20 feet for each wire).
Tip: Longer cables mean more voltage drop. Try to keep cable runs as short as possible.
Decide on Voltage Drop (2-3%)
You want to keep voltage drop low so your system works well. Most experts recommend a voltage drop of 2% to 3%. This means you lose only a small amount of power as electricity travels through the solar cable. If you use a higher voltage system, you can use thinner cables. Lower voltage systems need thicker cables to keep voltage drop low.
Use a Solar Cable Gauge Chart or Calculator
Now, use a solar cable gauge chart or an online calculator. These tools help you match your current and cable length to the right cable size. Here is a simple example of a cable gauge chart:
| Current (Amps) | Cable Length (Feet) | Recommended Cable Size (AWG) |
|---|---|---|
| 10 | 20 | 12 |
| 20 | 40 | 8 |
| 30 | 60 | 6 |
You can find many free solar cable calculators online. Enter your current, voltage, and cable length. The calculator will suggest the best cable size.
Apply a Safety Margin (1.25x Current)
Always add a safety margin to your current. Multiply your maximum current by 1.25. This helps your solar cable handle extra loads and keeps your system safe. For example, if your maximum current is 33.3 amps:
Safety Current = 33.3 Amps × 1.25 = 41.6 Amps Choose a cable size that can handle at least 41.6 amps.
Note: The safety margin protects your system from overheating and damage.
Example Solar Cable Calculation
Let’s put it all together with a real example:
- You have a 400-watt solar panel system at 12 volts.
- Maximum current = 400 ÷ 12 = 33.3 amps.
- Cable run from panels to charge controller is 25 feet one way (50 feet total).
- You want a voltage drop under 3%.
- Multiply current by 1.25 for safety: 33.3 × 1.25 = 41.6 amps.
- Use a solar cable chart or calculator. For 41.6 amps over 50 feet, you need at least 4 AWG cable.
By following these steps, you can pick the right solar cable size for your system.
Common Solar Cable Scenarios
Solar Panel to Charge Controller
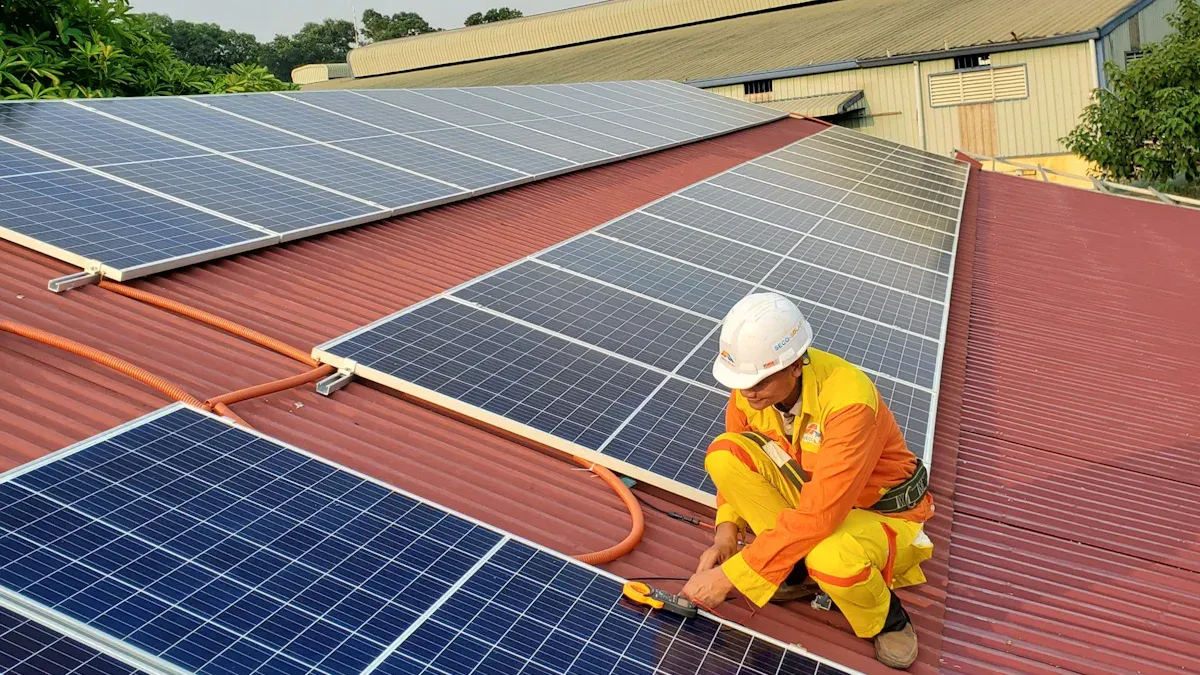
You often run the longest cables between your solar panels and the charge controller. This part of your system needs careful planning. Longer cables can cause more voltage drop. You should measure the distance from your panels to the controller and double it for both wires. Use a cable size that keeps voltage drop under 3%. If you use a higher voltage system, you can use a thinner cable. For low voltage systems, pick a thicker cable to stay safe.
Tip: Place your charge controller as close to your solar panels as possible. This step helps you save money and reduce power loss.
Charge Controller to Battery
The cable between your charge controller and battery carries all the charging current. This cable is usually shorter than the one from the panels. You still need to check the current and cable length. Use a cable that can handle the maximum charging current with a safety margin. If you use a solar cable that is too thin, it can overheat and waste energy.
| System Voltage | Max Current (Amps) | Suggested Cable Size (AWG) |
|---|---|---|
| 12V | 40 | 6 |
| 24V | 40 | 8 |
Battery to Inverter
The battery to inverter cable carries the highest current in your system. Inverters draw a lot of power, especially when you use large appliances. You must use a thick cable for this part. Measure the distance and check the inverter’s maximum current. Always add a safety margin. A thick cable keeps your system safe and prevents voltage drop.
Note: Always use cables rated for DC power and high current. This step protects your equipment and keeps your system running smoothly.
Always double-check your solar cable calculations. Choose the next larger size if you feel unsure. The right solar cable keeps your system safe and prevents power loss. When you plan for future upgrades, a thicker cable gives you extra safety.
FAQ
How do you know if your solar cable is too thin?
If your cable feels warm or you notice power loss, your cable may be too thin. Always check for overheating and voltage drop.
Can you use regular electrical wire for solar panels?
You should not use regular wire. Solar cables have special insulation for outdoor use and high current. Always choose cables rated for solar systems.
What happens if you use a cable that is too thick?
- You will not harm your system.
- Thicker cables cost more and are harder to install.
- You gain extra safety and less voltage drop.